Article by: Kelli Kaufer
When you’re investing in a home remodeling project, you want to make sure that the results not only please you but add value to your home and save you money. Never is that more true than in a kitchen remodel, where costs can added up so quickly that your budget can all of a sudden seem like pennies in a jar. To avoid that and keep costs in line, and yet still get the kitchen of your dreams, here are a few of my favorite ways of getting the most out of a tight budget.
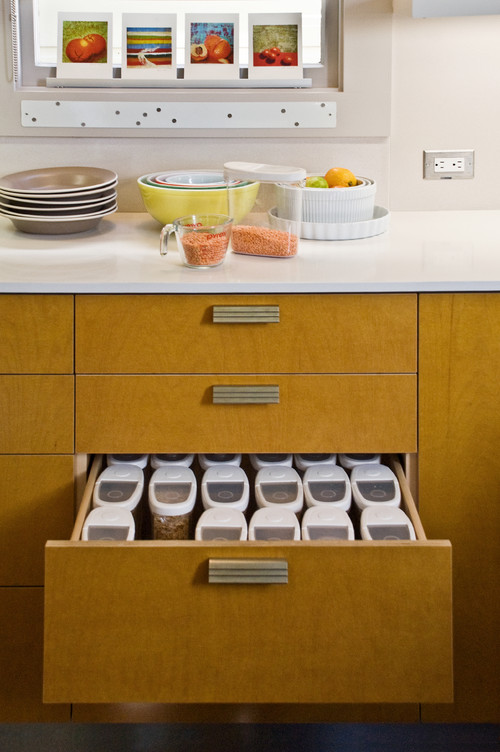
1. Go with ready-to-assemble cabinets. The biggest cost in a kitchen remodel is new cabinets. The most expensive option is going custom, for which the cabinetry is designed, built and installed to specifically fit your space. Exotic woods, ornate details and period styles will add to the cost and delivery time but result in a one-of-a-kind kitchen. Custom cabinets can cost $10,000 to $60,000, as cabinets can range from $250 to $1,500 per linear foot.
If your budget doesn’t allow for custom, but you need new cabinets, ready-to-assemble (RTA) is a good option. Ready-to-assemble or semicustom cabinets can sometimes be half the cost, from around $125 to $900 per linear foot depending on the material, style and cost of installation. If you are a do-it-yourselfer, you can assemble these yourself; if not you will need to hire a contractor. Semicustom cabinets are selected from existing designs and are prefabricated offsite in standard sizes, with limited options in terms of sizing, styles, materials and finishes.
In-stock cabinets are for customers who want to grab their cabinets right off the shelf and get going. These stock cabinets come in standard sizes, shapes and colors. Since the cabinet dimensions are not based on your kitchen, space-wasting fillers may be required to make the cabinets fit. These cabinets are very affordable for remodelers on a budget. Cabinets can range from $75 to $400 per linear foot.
Keep in mind, though, that costs will vary by location.
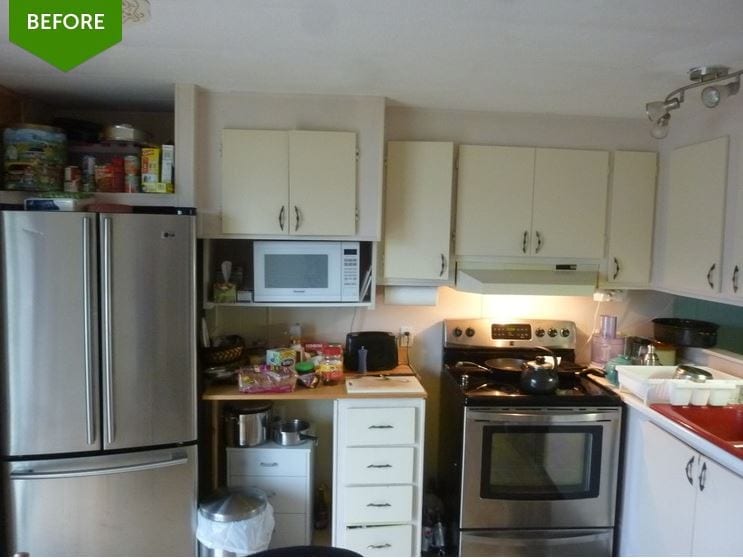
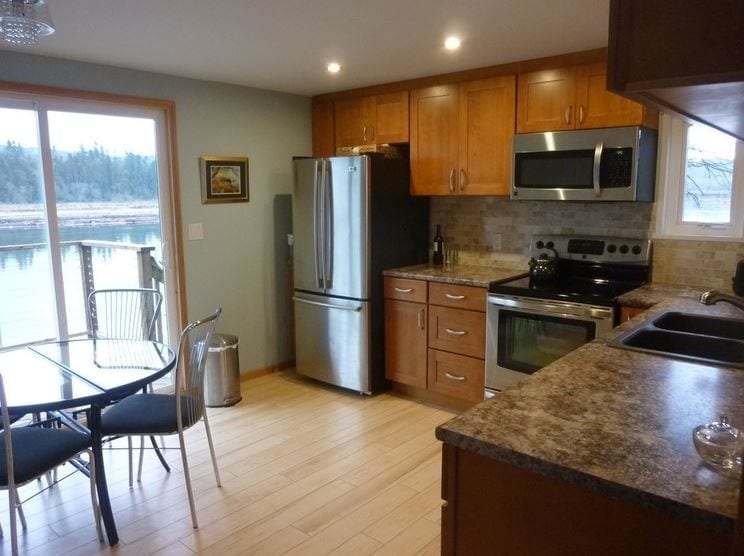
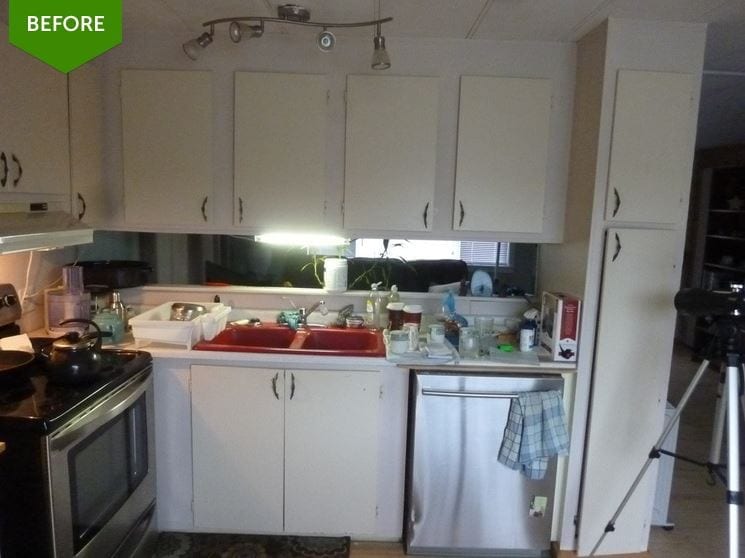
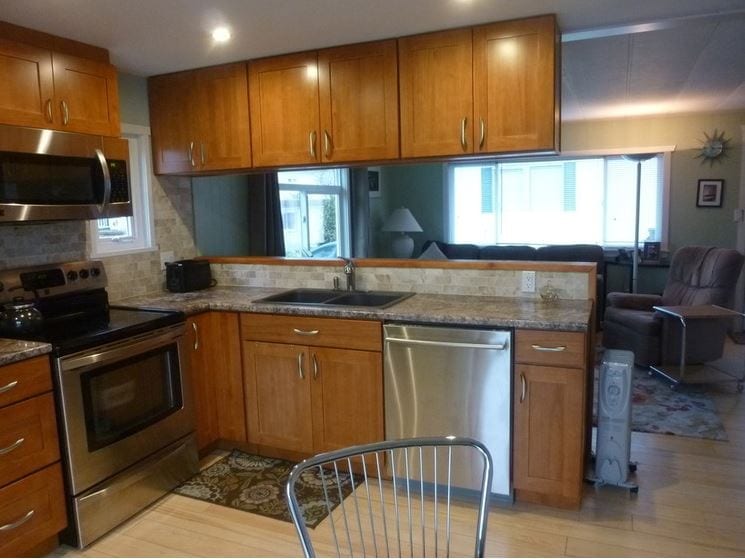
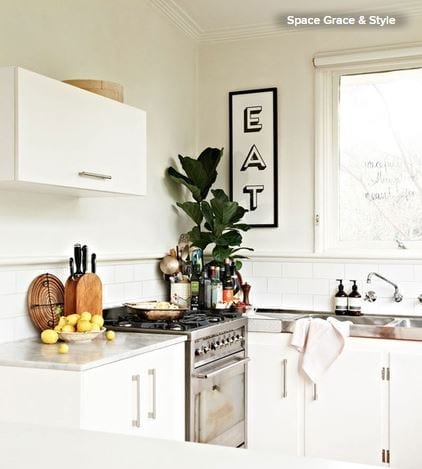
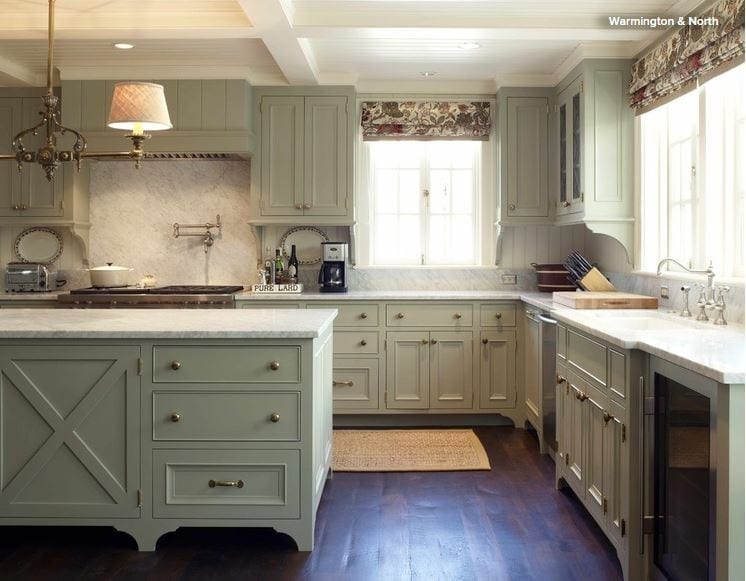
2. Keep existing cabinets if possible. If your cabinets are good quality and you like the style, resurfacing is a great option. It’s amazing how color can transform a kitchen and a few coats of paint can give life to a once-drab space. Resurfacing and painting make for the most cost-effective option, but ensure that you take the steps needed to get a beautiful finish.
A simple paint job might cost a few hundred dollars. But for a more extensive refacing job, $5,000 to $15,000 is likely if new veneer is added to the face of the cabinets.
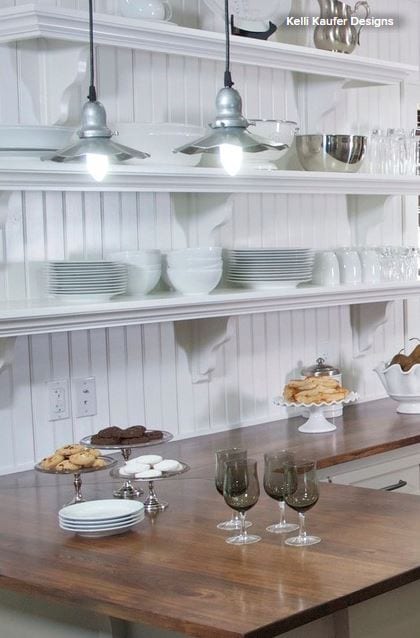
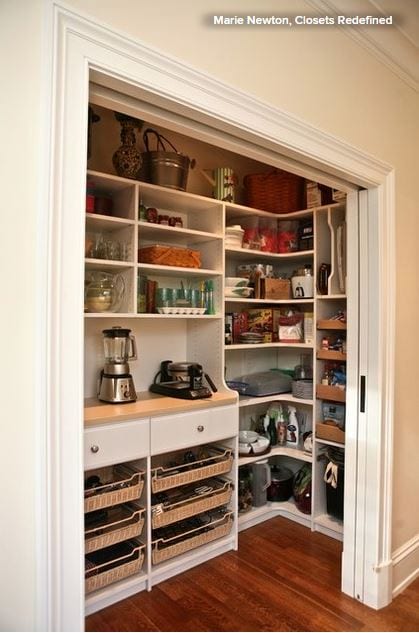
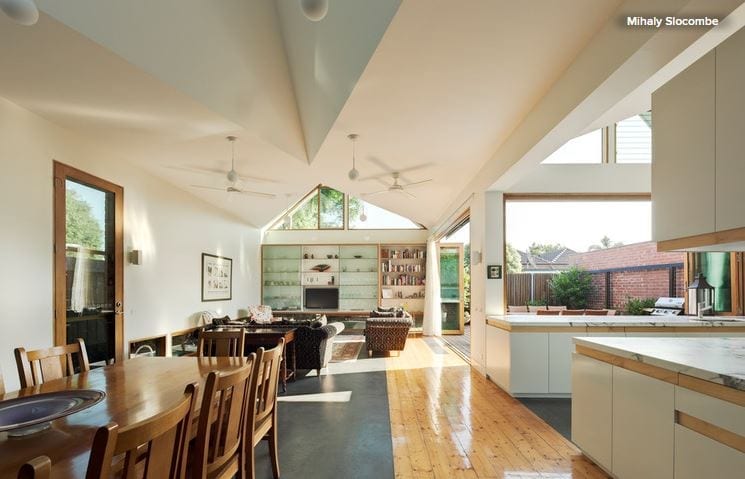
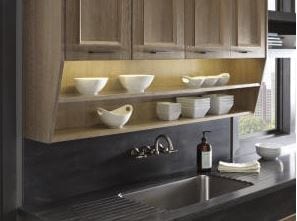
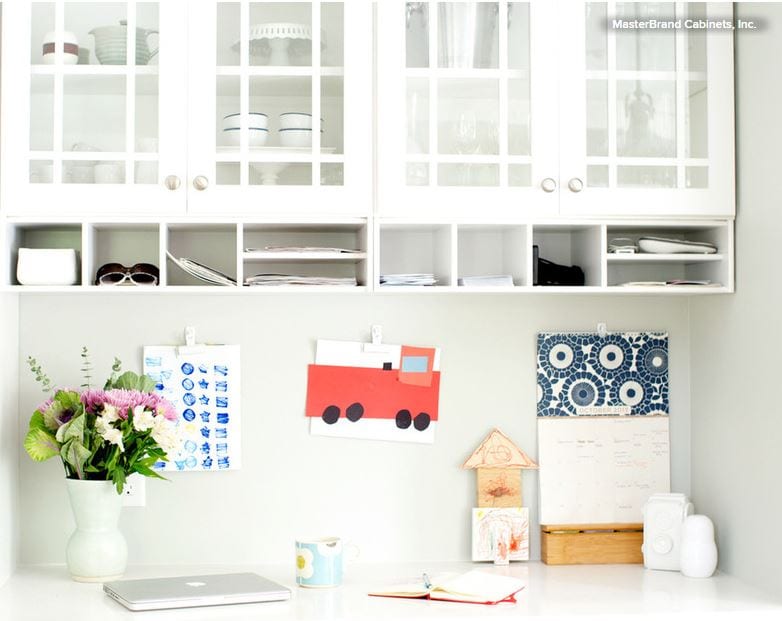
3. Choose open shelving where possible.Open shelving creates interest in the space as well as saves money. Using salvaged wood or painted planks from your local hardware store for shelving is a cost-effective and functional option to display everyday dishes (items that don’t spend enough time on the shelf to accumulate dust).
Open shelving can save a few thousand dollars, but while it may be tempting to do away with fitted cabinets altogether, they’re still valuable and efficient for storage, particularly if you have a small kitchen and a lot to pack into it.
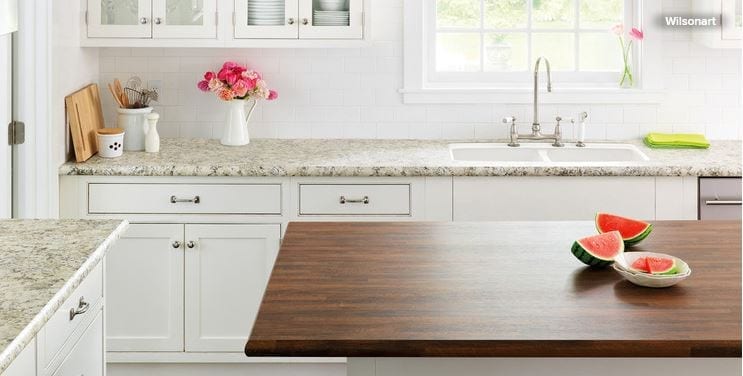
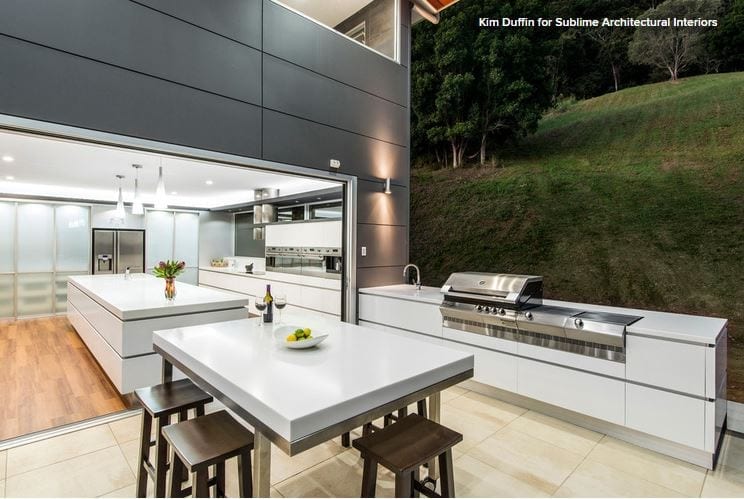
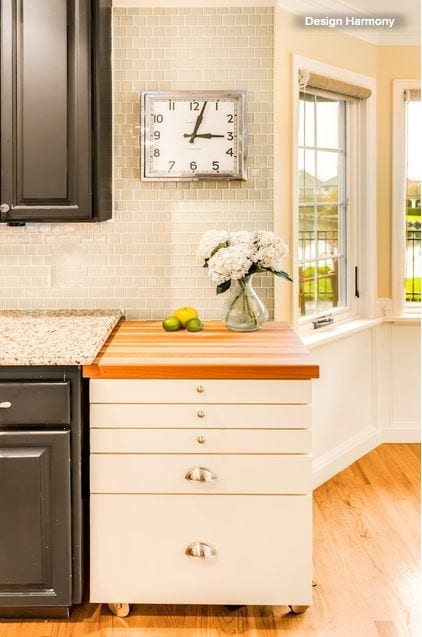
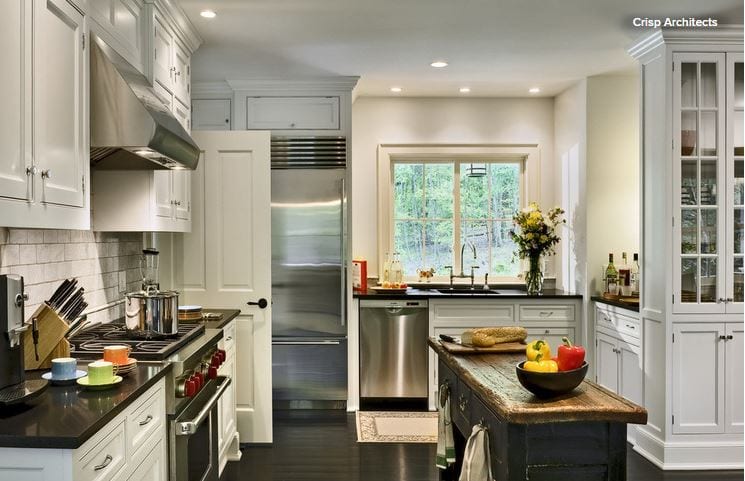
4. Consider alternative countertop materials. There is a wide range of countertops to choose from — solid surfaces, recyclable products, concrete, tile, stone and more. Granite is still a popular choice for countertops, but at $50 to $100 or more per square foot installed, it can push any budget over the top. Consider using two different surfaces instead, such as making the outside perimeter butcher block and the island granite. This can cut the cost in half.
If granite is not in the budget but you like the look of stone, consider laminate, an inexpensive alternative. The costs ranges from $8 to $20 per square foot, including installation. Laminate has come a long way with its high-definition selections and new cut-edge profiles. The new laminates look so much like stone, you could be easily fooled.
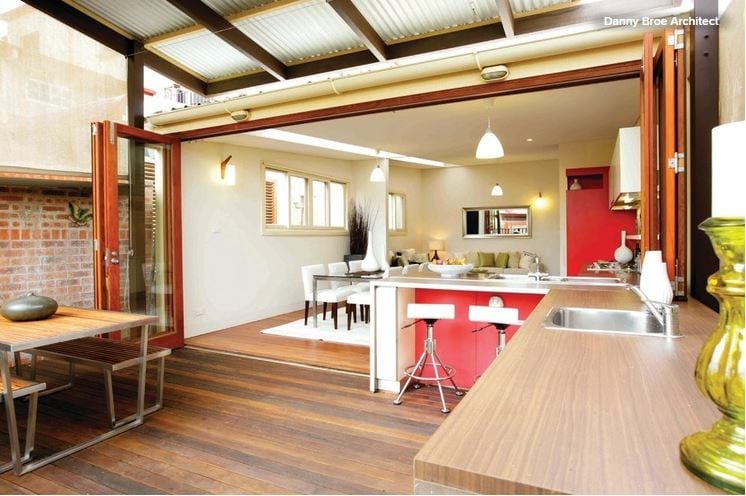
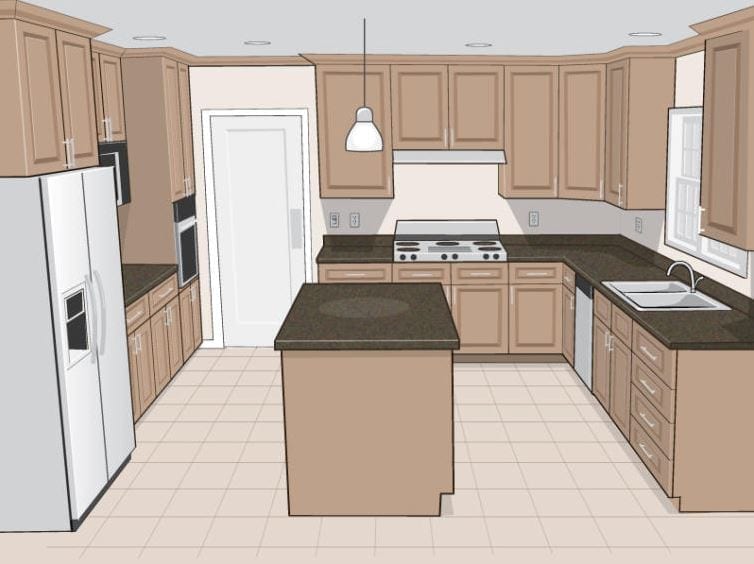
5. Keep appliances where they are. If your plan is to get new cabinets, think about keeping your appliances where they are. Moving the mechanics and electrical for appliances can be costly, not to mention the ceiling on the floor below and the walls may need to be cut into to expose the mechanicals. These are costs that many homeowners don’t think about when planning a kitchen remodel.
Keeping the appliances where they are will save you thousands of dollars. More often than not, moving an appliance 1 foot costs as much as moving it 6 feet, depending on where the mechanicals are located.
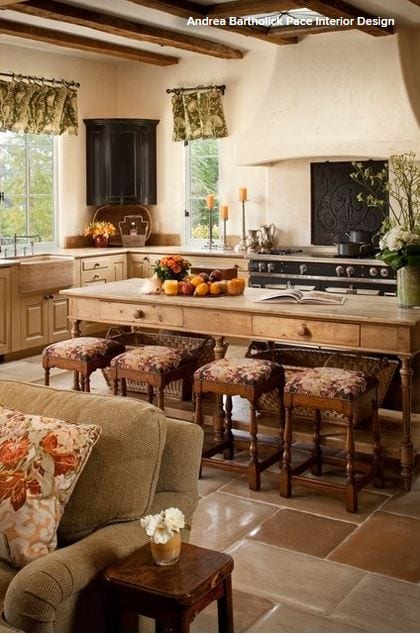
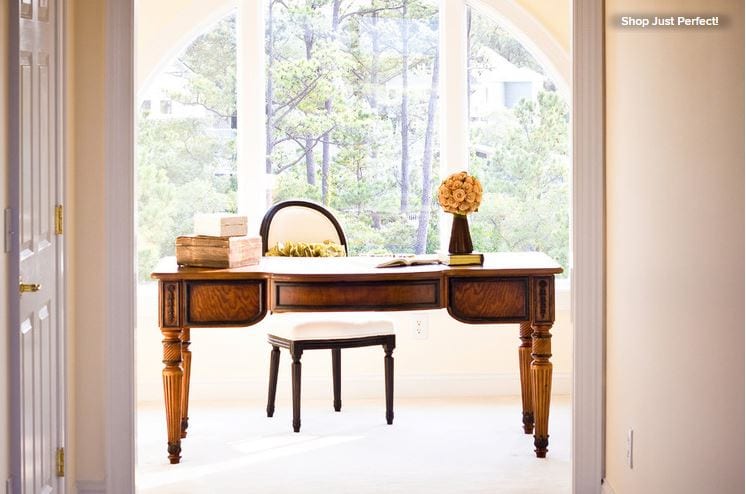
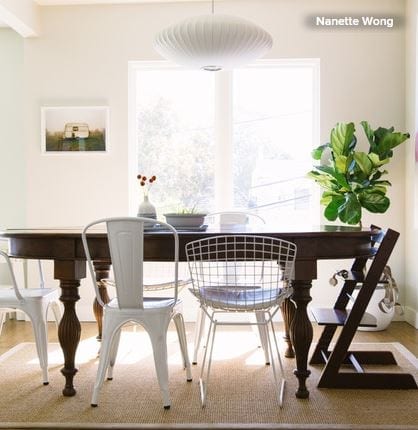
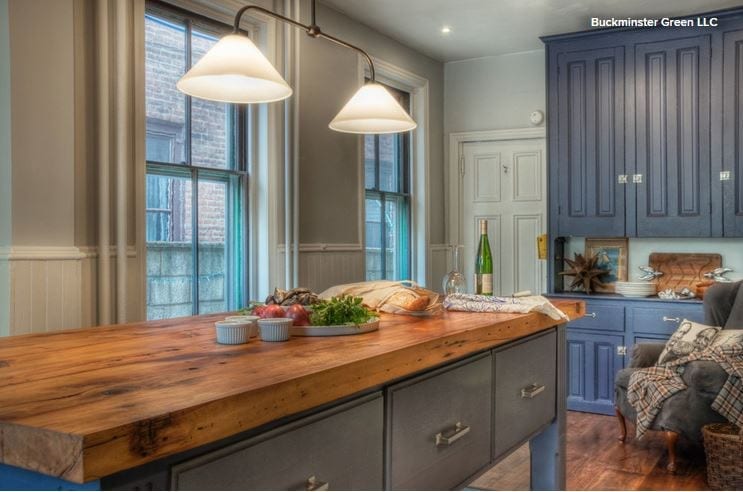
6. Look at different options for islands. A 6-foot island with new cabinets can run $800 and up. Instead of using cabinets for your kitchen island, think of repurposing a piece of furniture. An old table or a dresser is a great alternative to bring unique character into the space. Keep an eye on Craigslist, the Houzz Shop, salvage stores, estate sales and garage sales. Depending on how resourceful you are, you can save yourself hundreds of dollars.
Tip: When looking for a piece, make sure it is countertop height (36 inches).
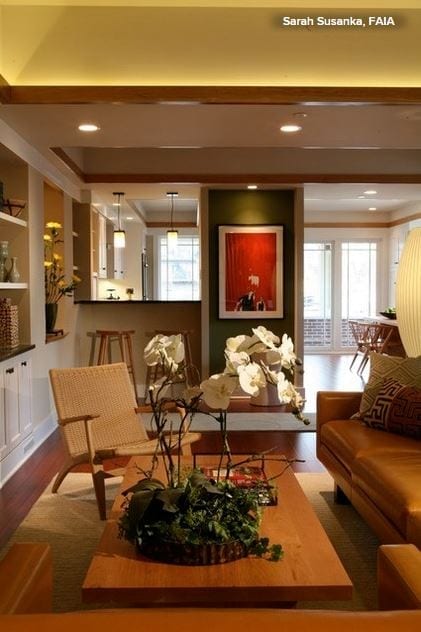
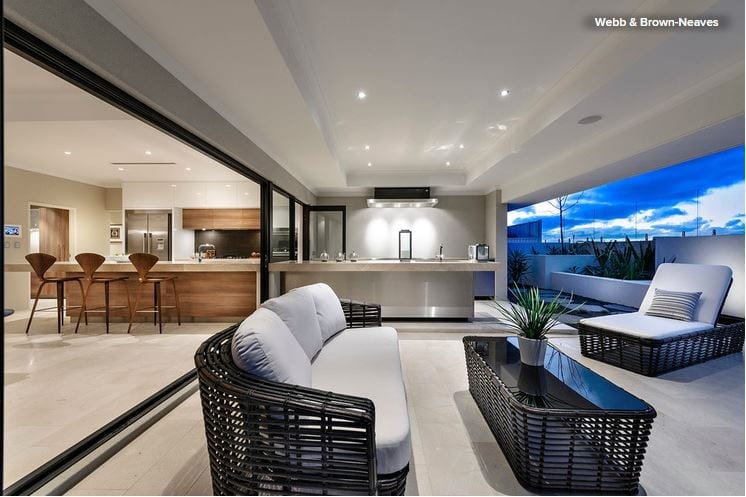
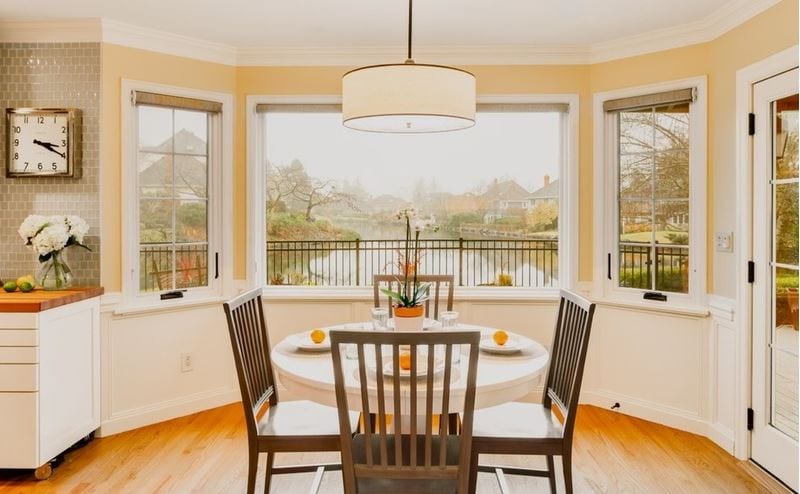
7. Opt for a cutout rather than removing a wall. Many homeowners want to open the space between the kitchen and their family room to create an open floor plan. When removing a wall there are many things to consider. Is it load bearing? Does it have venting, water pipes or electrical running through it, which will need to be rerouted? After removing a wall, the ceiling, other walls and floor may need to be cut into and repaired.
A less expensive option to consider is a cutout. Not only does it open a room, but it can provide extra countertop space and an area for additional seating. You will still need to check for mechanics and plumbing, but the floor and ceiling will not need to be repaired, which will save you money.
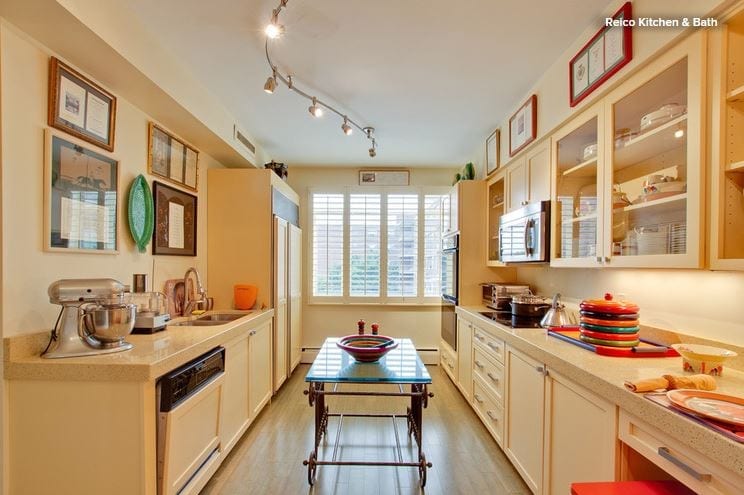

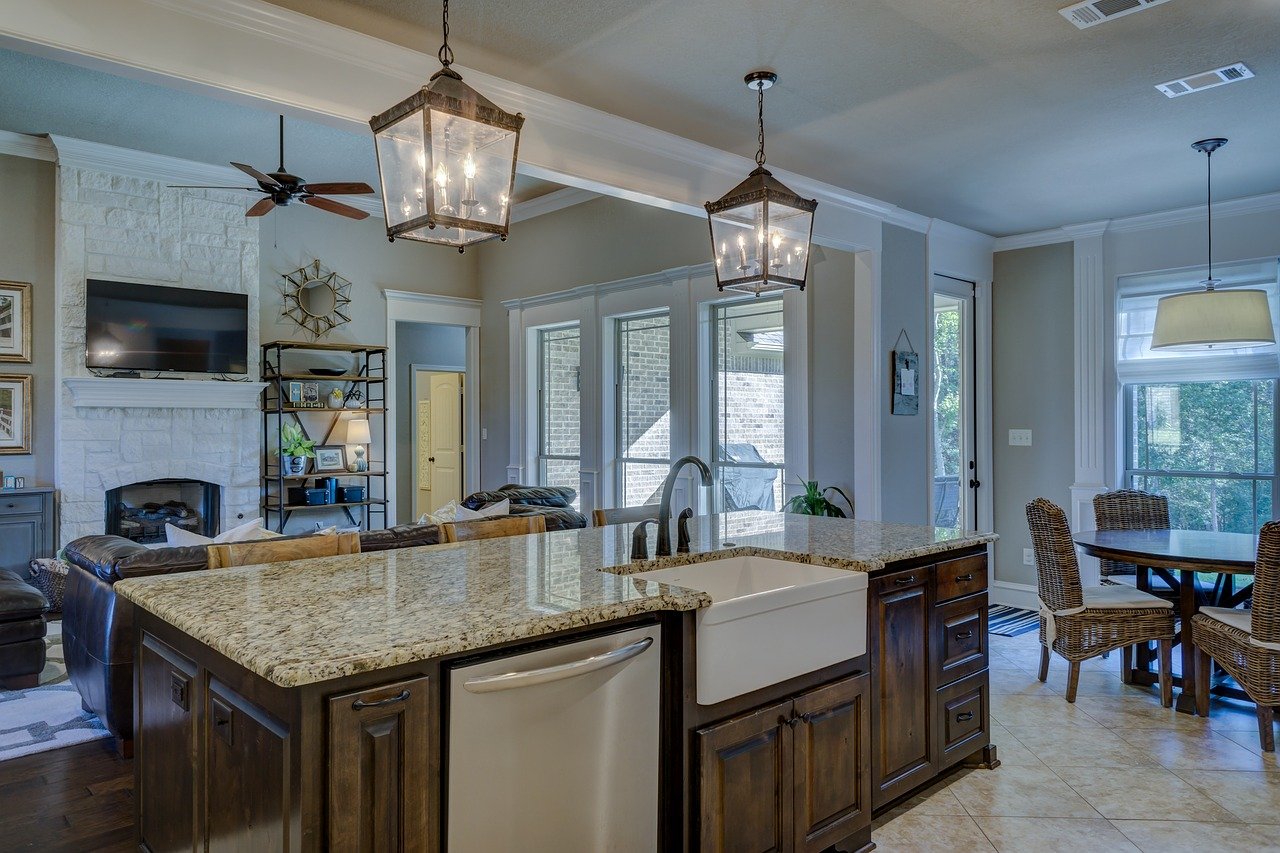
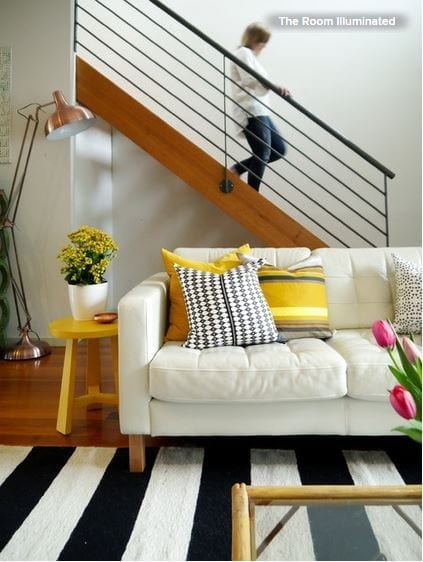
8. Try track lighting instead of recessed lighting. Adding recessed lighting can become a bigger project than planned. Holes need to be cut into the ceiling, electrical wiring needs to be added, and there may be hidden costs in repairing the ceiling. The overall cost for a single recessed light is $100 to $150, including the costs for materials and an electrician. This can add up quickly.
To keep costs down, think about track lighting. There are many styles, shapes and finishes. They give off plenty of light for tasks in the kitchen and, when placed on a dimmer, give off a nice ambient light.