FREE DESIGNS AND ESTIMATES

Smart Investments in Kitchen Cabinetry — a Realtor’s Advice

By Tiffany Carboni

The kitchen is the most expensive room in the house to build. The national average cost of a kitchen remodel is $50,000, though the real cost can vary widely, depending on where you live, the scope of the project and the materials you choose. New cabinetry can take up much of that expense. Make the most of this big purchase by treating your new cabinets as an investment. 

Realtor Victoria Gangi offers insider tips on how to get the best return on your cabinet investment, even if you’re not moving in the foreseeable future.

Read more

Bathroom Backsplashes Make a Style Statement

Article by: Meera Innes

The functional nature of sinks might not always inspire style, but the backsplash can be a bathroom centerpiece. Backsplashes help to protect the wall from water damage, but the myriad materials, colors and finishes also make this a small feature that can transform the feel of a bathroom and add drama, polish or character.

Read more

9 Tips for Mixing and Matching Tile Styles

Bathroom Tile Styles

Article by: Laura Wheat [Houzz]

For tile fans such as myself, the more tile, the better. But though I’d happily cover every surface with it, there are certain things to consider when combining tiles of various sizes, shapes and patterns on walls and floors. Because tiling large areas requires a sizable investment, it’s worth getting samples and experimenting with how tiles work together. These nine tips offer guidance on how to combine tiles for the best look.

Read more

Why You Should Embrace a Solid Slab Backsplash

The effect is stunning, and yet the cost can be minimal. Here’s what to know about using full slabs of stone in your kitchen

A solid slab backsplash is a custom look that says luxury in a kitchen of any size. But it doesn’t require a luxurious budget. Take inspiration from this trendy yet timeless look, and give your next kitchen remodel a solid head start.

Read more

Kitchen Ideas: How to Choose the Perfect Backsplash

Article by: Sophie Baylis

The humble backsplash has come a long way. Once upon a time, its purpose was purely functional: a tiled area behind the stove and sink to protect kitchen walls from stains and splashes. Today the availability of all manner of materials in a wide array of finishes means your backsplash can make more of a statement. To help you decide which material would work best for you, we offer expert advice on the 10 most popular backsplash materials.

Read more

9 Hard Questions to Ask When Shopping for Stone

Article by: Anne Higuera CGR, CAPS

Deciding to use stone and choosing the kind to use are more complicated than just picking a finish you like. Because stone is a natural material, its appearance, durability and production can vary from one quarry to another, and from one batch to another, causing problems (or in some cases, providing benefits) you might not have anticipated. 

Here are nine questions you should consider before buying stone.

Read more

Bathroom Floor Tile: Glass Mosaic for a Luxurious Look

Glass mosaic tile flooring can certainly add beauty to a bathroom, but it’s still a hotly debated material choice for flooring. No one can deny how great it looks, but some people question its durability and safety in a wet environment. Here you’ll learn all about the pros, cons and costs to help you decide if glass mosaic tile is a good fit for your bathroom. Could this luxurious material work for you? 

Read more

Countertop + Backsplash: Making the Perfect Match

Article By:

Which do you select first — kitchen counter or backsplash? How do you coordinate colors? Is it OK to mix patterns? The seemingly unlimited countertop and backsplash choices can feel overwhelming.

I’ve had homeowners approach me after weeks or months of looking at and collecting samples of materials that they love separately but just don’t love together. Some settle on a combination that looks good together, but they don’t actually like either material on its own. 

Here are 10 examples of stunning and successful countertop and backsplash combinations to help you plan your own mix of kitchen finishes, along with tips to ease your selection process. 

Approach 1: Select the Countertop First

If you feel overwhelmed by the countertop and backsplash options, try focusing on countertop selection first. Your countertop is the workhorse in your kitchen and can constitute a good chunk of your budget, so you’ll want to get it right. Your budget and the way you use your kitchen will narrow things down. Plus, there are generally fewer color and pattern options for countertop materials, whereas backsplash options are practically unlimited. Countertops will also be installed before the backsplash, so you definitely need to decide on them first if construction has already begun.

Browse the Houzz photo database for countertop materials that appeal to you and the compare pros and cons in the Houzz guides to countertops. If you want to see something in person, check out what’s available at your local stone yard, kitchen and bathroom design showrooms, and home improvement stores.

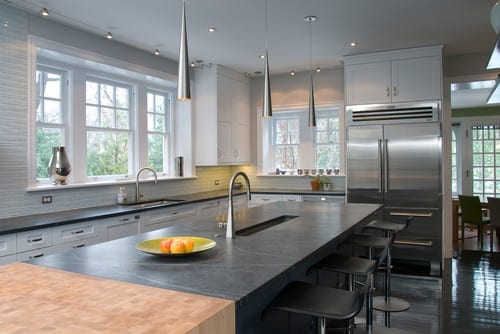
Shown: Soapstone and butcher block counter; linear glass tile mosaic backsplash 

Once you’ve homed in on your countertop of choice (congratulations!), you have immediately narrowed the field of options for the backsplash. Trust me, this makes your life easier. 

Now, you don’t necessarily need to exactly match the color or pattern of your countertop to that of your backsplash, especially if you go for an unusual hue or a countertop material with a lot of movement in it. In these cases a simple and neutral-hued backsplash is a good choice, so that the countertop takes center stage and does not fight with the backsplash for attention.

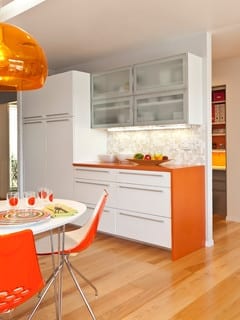
Shown: Orange quartz counter (get the look withOne Quartz from Daltile); Oceanside Glasstile’sTessera mosaic blend in Veil backsplash


If you want to go bold with both your countertop and backsplash, bring a sample of your chosen countertop material with you as you shop for backsplash tile. You will be able to instantly limit your backsplash options to those that work with your countertop material. If you are struggling with finding the right backsplash to work with your countertop selection, consider hiring a pro, even if it’s for just a few hours, to help you nail the selections. Or enlist the help of a color- or design-savvy friend.

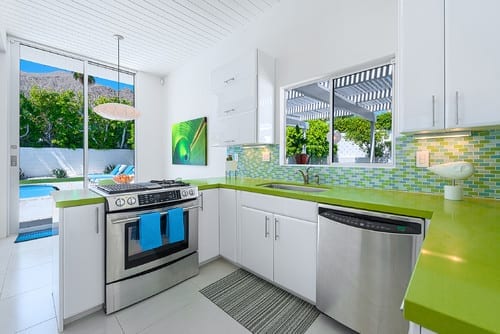
Shown: Green quartz counter (get the look with Silestone); mosaic glass tile backsplash 

Approach 2: Select the Backsplash First

Of course, if you happen to find a backsplash you absolutely love before you’ve even looked at countertops, I say go for it. Making this selection will absolutely help you narrow down the options for the countertop. If you go for a statement-making backsplash such as the one here, find a quiet, subtler countertop material so it doesn’t fight with the backsplash.

Shown: Pietra del Cardoso stone counter; Stone & Pewter Accents mosaic glass tile backsplash


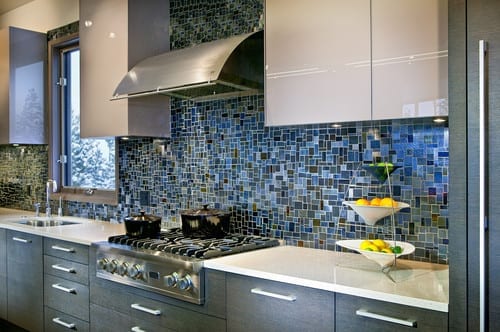
I prefer that either the countertop or the backsplash be the star of the show, with the other material playing a supporting role. This stunning backsplash has lots of color and movement and, in my opinion, should not have to compete with an equally attention-grabbing countertop.

Shown: Caesarstone counter; glass mosaic Waterworks backsplash 

That’s not to say you shouldn’t consider a mix of colors and patterns for both your countertop and backsplash. But if both of your materials feature multiple hues and have different patterns, aggregates or movement, stick to one overriding color palette for both materials. This will give the materials a nice cohesiveness, so they don’t fight with each other.

Shown: Bianco Romano granite counter; stained glass mosaic tile backsplash 

Approach 3: Use the Same Material for Both Counter and Backsplash

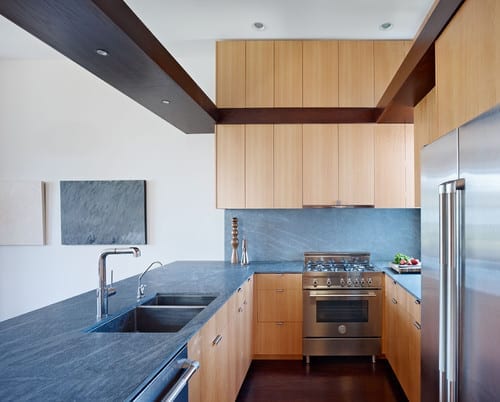
Love your countertop selection and want to keep this process simple? Consider running your countertop material up onto the wall as the backsplash. This is an especially smart option if you are required to purchase entire slabs of your chosen countertop material and you happen to have enough material left over to use the remainder as the backsplash.

Shown: Get the look with a Pietra del Cardoso stone counter and backsplash. 

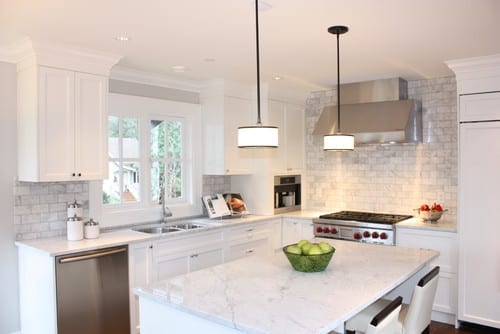
You can also use the same or similar countertop material for your backsplash but break it up by selecting a tile format for your backsplash rather than a slab. This can be a budget-friendlier option than purchasing extra slabs to create a backsplash.

Shown: Get the look with a Carrara marble counter or, for a more durable option, check out Misty Carrera from Caesarstone; Carrara marble subway tile backsplash 

Another cost-effective approach is to run your countertop 4 to 6 inches up the wall as a short splash. It will give you a nice finished edge where the countertop meets the wall, and it will also provide protection to the part of the wall most likely to get wet or dirty. Just be sure to check your local building code requirements regarding the minimum height of noncombustible materials on the wall area above the range or cooktop.

Shown: Uba Tuba granite counter; colbalt-blue Daltile subway tile backsplash 

Approach 4: Hire an Expert

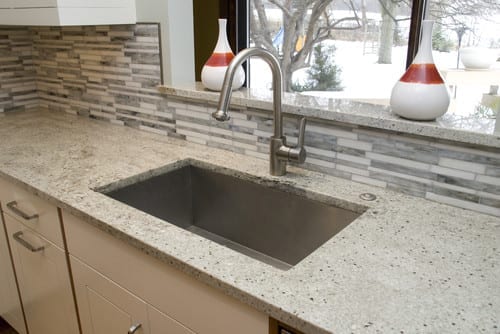
Some homeowners just have a difficult time visualizing their finished kitchen, which is why material selection can prove so challenging. And all too often you are asked to make too many decisions in too short a time period. If you know you are prone to analysis paralysis, do yourself a favor and give yourself enough time to weigh your options, but with a firm deadline to make the decision. Engage the assistance of a friend whose taste you admire, or hire a design professional to help guide you or bless your selections.

Shown: Gray and white granite counter; oversize ceramic tile backsplash
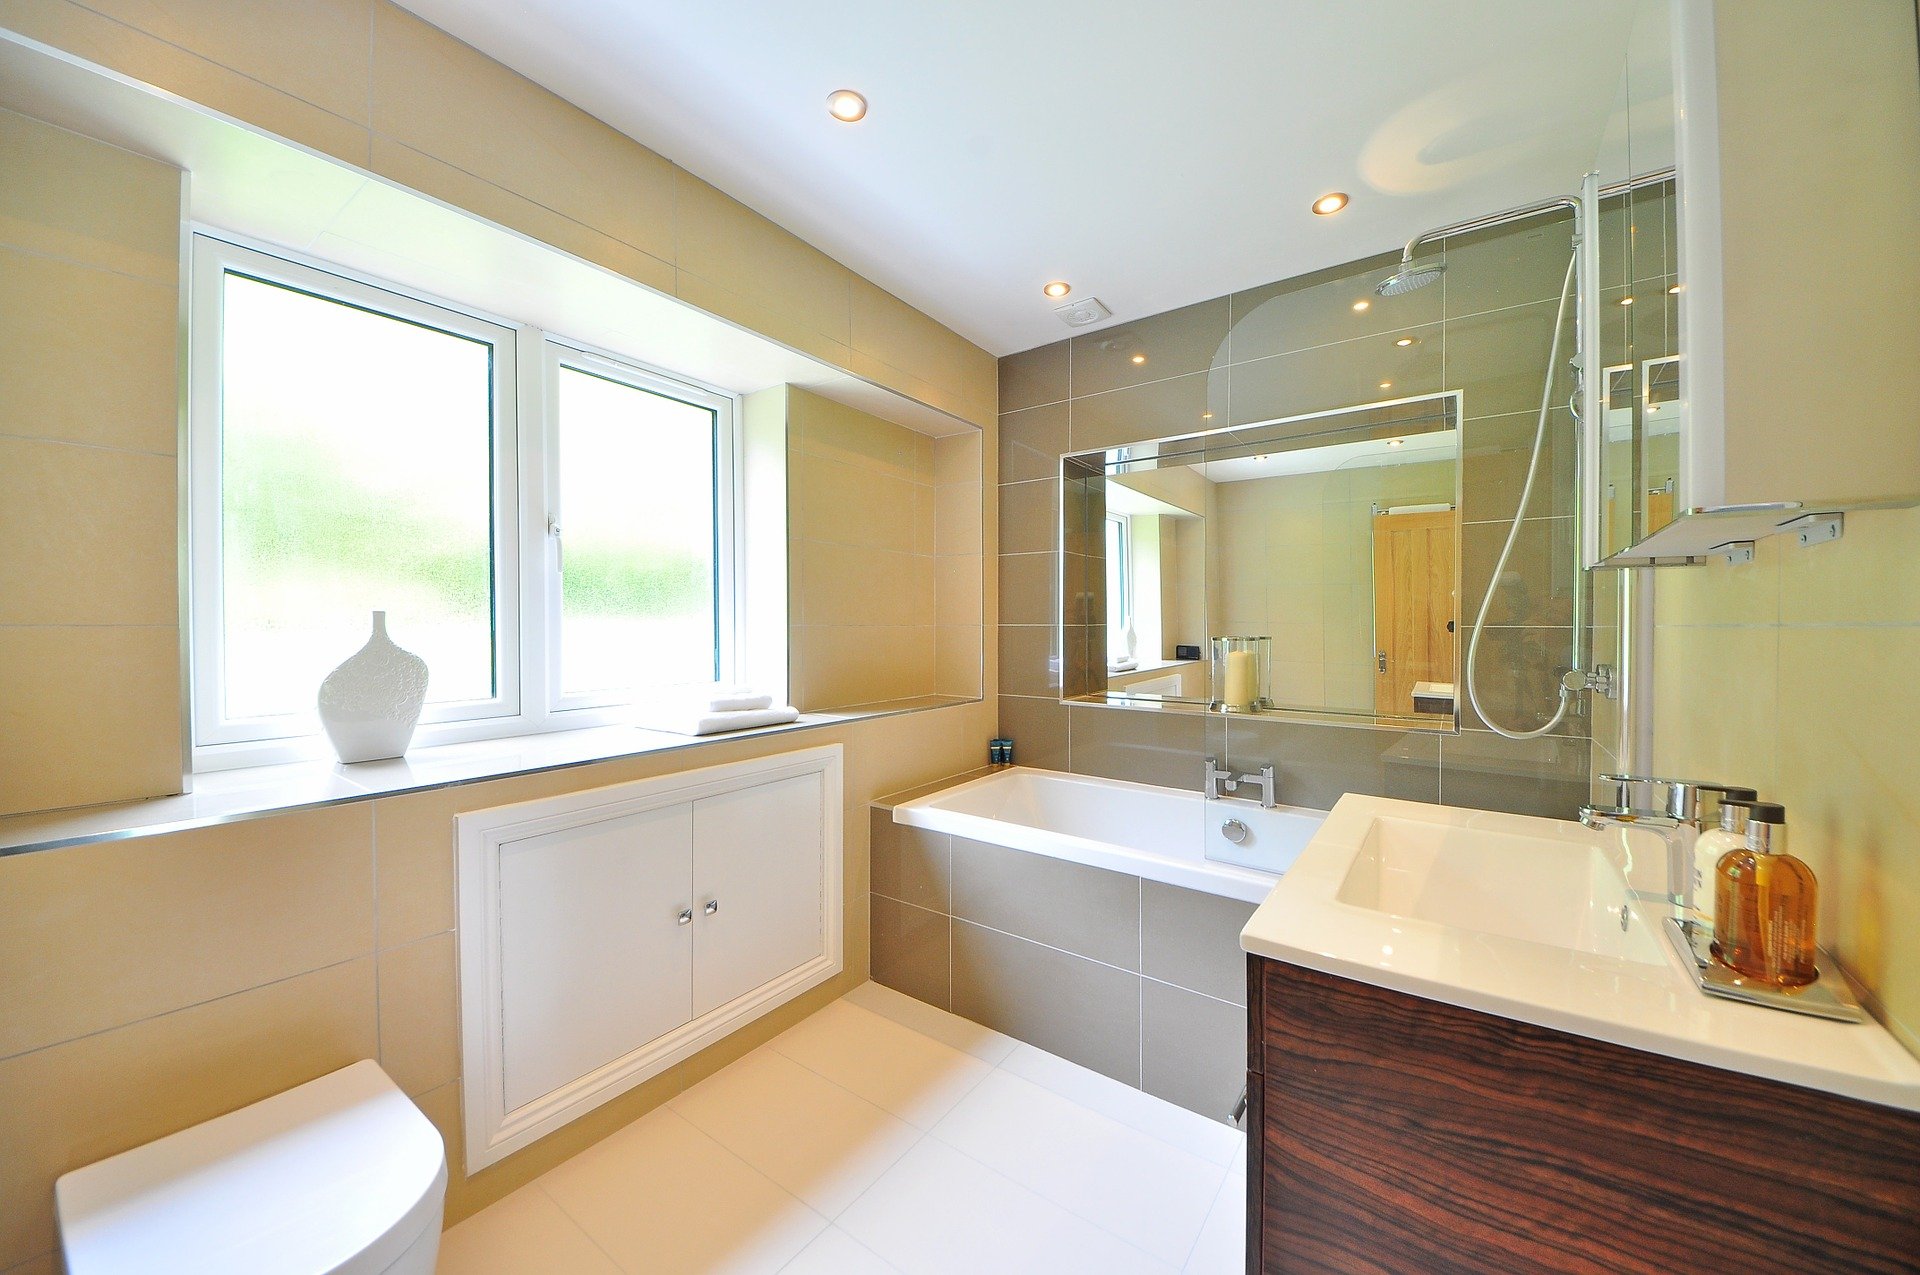
 

Bathroom Surfaces: Ceramic Tile Pros and Cons

Article By: John Whipple

Often praised for its durability and variety, ceramic tile is a popular choice for bathroom finishes. If you’re drawn to color and texture, this material can deliver on both fronts. But the sheer variety of ceramic tiles is endless, which can make finding just the right tile very difficult. 

Because ceramic tends to cost less than porcelain and is much lighter, it’s often used for wall and ceiling installations. However, there are some major cons to this material, too: It’s not as strong as porcelain, so it doesn’t make the best walking surface. It can be very cold underfoot in the winter, and heavy tile can be difficult to install. 

Curious if ceramic tile will work in your bathroom? Here’s what you should know before making the purchase. 

The basics: Ceramic tiles are wide ranging; all are generally made from red or white clay that’s been fired in a kiln and glazed or finished. If you’re a tile nerd like me, ceramic tile technically includes porcelain tile too, but for this ideabook we’ll exclude that category. 

Cost: Ceramic tile is often priced below $2 per square foot. Higher-end tiles can easily run $20 to $40 and more per square foot. The average tends to be around $7 to $9 per square foot. 

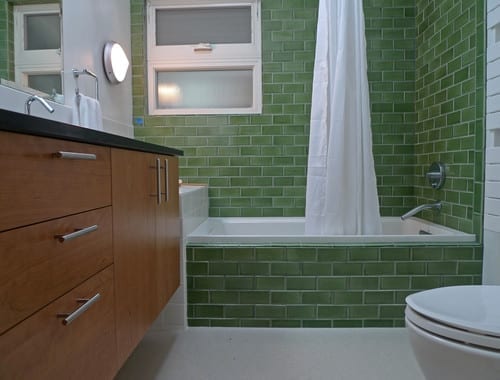
Pros: Ceramic tile can be incredibly affordable, and there’s a ton of variety in styles, colors, finishes and textures. It’s also easy to customize it for details like chair rails, soap dishes and special edging and nosing, as in this bathroom.


Cons: Ceramic tile is not as strong as its cousin, porcelain tile, but what it lacks in strength, it makes up for in price.


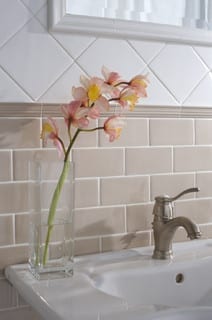
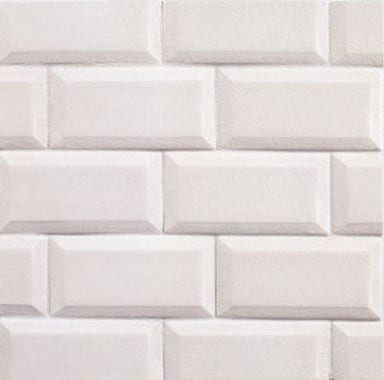
Special considerations: Since ceramic tiles often have texture, you may want to consider this to add dimension to your bathroom. The eased edge on this tile adds a little extra something to a bathroom wall, but can make it difficult to figure out how to cut end tile. Consider using a tile edge profile, like a Schluter strip, to make the transition less awkward. 

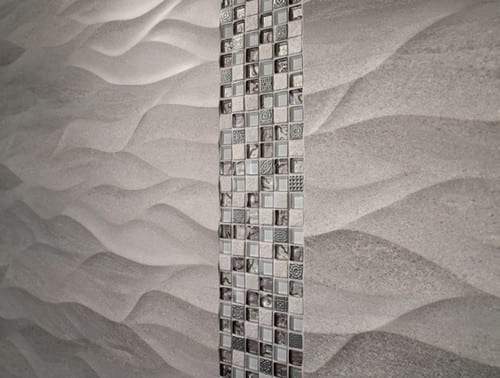
However, today’s ceramic tile offers much more than an eased edge. This wavy tile from Porcelanosa is just one example of the texture and detail available today. 

This type of tile can make for a great accent in a bathroom, but I’d avoid using too much texture in a shower , since it can make for difficult cleaning. Try using it for a feature wall or feature corner instead. 

Maintenance: Make sure you choose a ceramic tile with a durable finish. How can you tell? Buy a sample, take it home and clean it to death. 

I recommend cleaning ceramic tile with a white nylon scrub brush and a little soap. You shouldn’t need much more than that. Ceramic is very durable, but it’s best to stick to mild household detergents and to spot test before using anything new. 

Installation: Installing ceramic tile is pretty straightforward; it could even be a DIY project if you have some experience working with tile. Many of today’s ceramic tile actually has directional arrows on the back side; make sure you keep them lined up the same way so you get the correct look. 


Why Bathroom Floors Need to Move

Article By: John Whipple

“Tenting” is a terrible word to a tile professional. When a bathroom floor has been installed incorrectly, tiles can press against one another and pop up off the floor, creating a tent shape. It’s not just tile that does this — almost every material in a home expands and contracts with time, including the plywood subfloor, which can develop popped tiles or cracked grout joints.

These professional pointers for preparation and installation techniques can help keep your bathroom floor from tenting.

Avoid large-format tile. More grout joints allow for minor movement and spreading out.

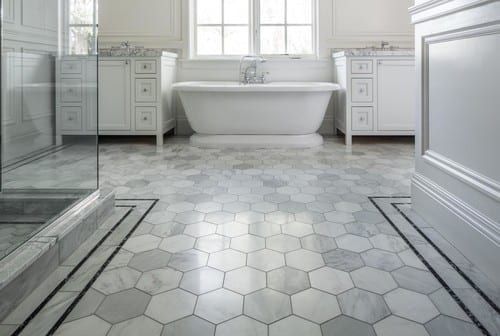
If you have a large bathroom — like this beautiful space — with loads of natural sunlight, a smaller and lighter tile is definitely a safer option. Darker tile absorbs heat and expands and contracts more than lighter tile.

Contemporary Bathroom by New York Architects & Designers TURETT COLLABORATIVE ARCHITECTS 

All of a home’s building materials expand and contract; the hardwood floor, the tile and even the countertops all move over time. Any good pro should know how to account for these size changes and prevent expansion from wreaking havoc in a home.

Tip: Make sure your tongue and groove subfloor does not get filled with dust, debris or adhesive mortar (thinset). This subfloor needs the ability to move, and the joints should not be too tight.

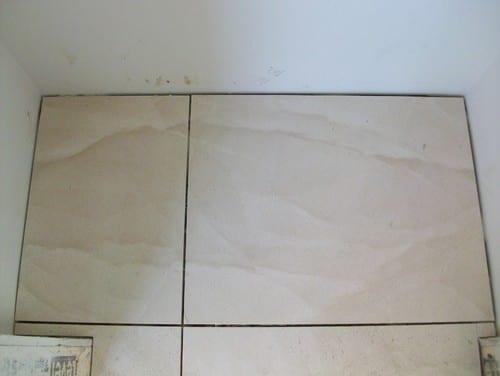
This photo shows some great tile work. The beautiful tile is nicely lined up, but I especially appreciate how there’s no mortar or thinset where the tile meets the wall. Using mortar here can lead to tenting issues, since it prevents the tile floor from moving and expanding. This clean finish is exactly what you want to see in your bathroom. Make sure your tile contractor understands that you don’t want your installation done with thinset on the edges that meet the wall.

If you drive over bridges frequently — like I do every day — you’ll notice that bridges have expansion strips. During the summer the bridge is quiet, since summer’s heat has expanded the bridge’s concrete and the expansion strips are pressed tight. But in the winter, driving over the same bridge sounds quite different; the expansion strips are wider, and they click-clack as your tires hit them.

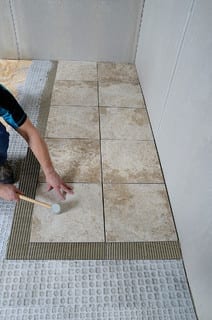
Designing tile floors to expand and contract follows some of these same principles. Uncoupling membranes underneath floor tile can improve your floor’s flexibility. This photo shows a professional installing a Strata Mat uncoupling membrane to account for minor floor movement.

Hearing a hollow noise when you’re walking across newly tiled floors could be the early signs of tile bond failure. This sound results from poor thinset coverage.

In this photo the floor tile goes underneath the tub skirt. This is a solid design that allows for movement on the floor tile.

Tip: Gently tapping set tiles with the wooden handle of a rubber mallet can help you find the hollow noise where poor thinset coverage has occurred.

Modern Bathroom by North Vancouver General Contractors John Whipple – By Any Design ltd. 

All steam showers have a modified thinset to account for quick thermal expansion. The powerful steam and heat in steam showers require a thinset that can accommodate immediate expansion and contraction.

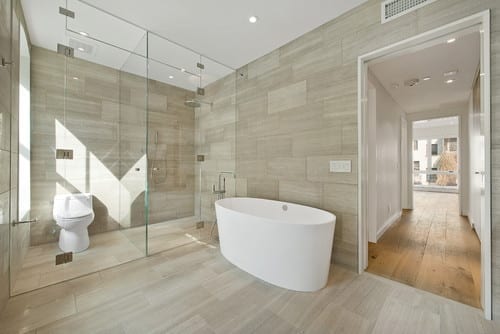
Glass expands more than many other building materials. Large panels like these let in lots of sunshine and quickly heat up the bathroom, increasing thermal expansion.

For an installation like this, I’d make sure that the corners of the shower stall had two layers of a waterproofing membrane. Products like NobleSeal TShave a thicker membrane that can take some compression in the corners.

With extremely large bathrooms, expansion strips inlayed into the tile assembly are a must. In my opinion, any room larger than 15 feet in one direction should be using some kind of expansion strip and specialty thinsets and grouts to increase expansion and combat mortar fatigue.