FREE DESIGNS AND ESTIMATES

Bathroom Backsplashes Make a Style Statement

Article by: Meera Innes

The functional nature of sinks might not always inspire style, but the backsplash can be a bathroom centerpiece. Backsplashes help to protect the wall from water damage, but the myriad materials, colors and finishes also make this a small feature that can transform the feel of a bathroom and add drama, polish or character.

Read more

Why You Should Embrace a Solid Slab Backsplash

The effect is stunning, and yet the cost can be minimal. Here’s what to know about using full slabs of stone in your kitchen

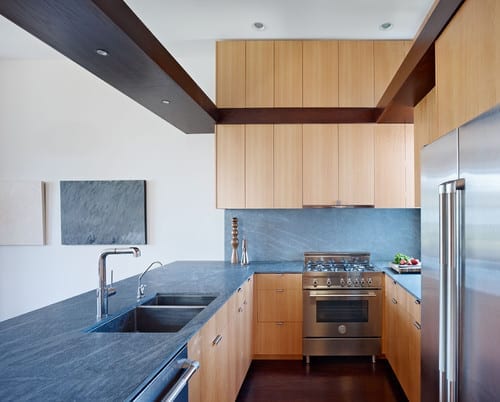
A solid slab backsplash is a custom look that says luxury in a kitchen of any size. But it doesn’t require a luxurious budget. Take inspiration from this trendy yet timeless look, and give your next kitchen remodel a solid head start.

Read more

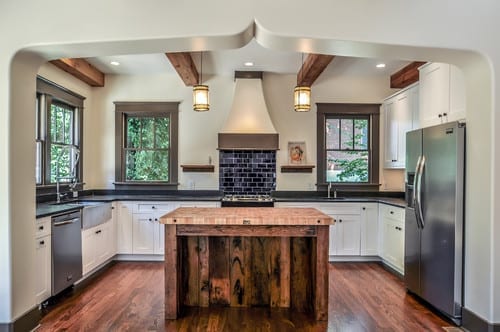
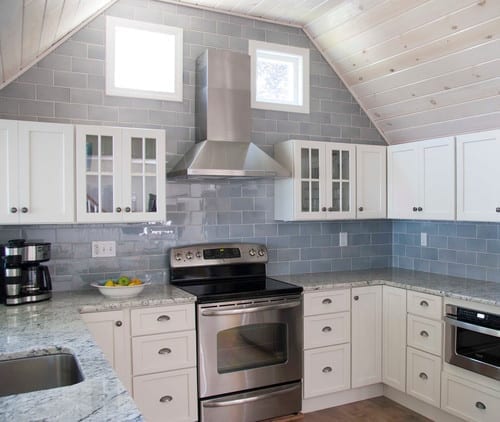
Kitchen Ideas: How to Choose the Perfect Backsplash

Article by: Sophie Baylis

The humble backsplash has come a long way. Once upon a time, its purpose was purely functional: a tiled area behind the stove and sink to protect kitchen walls from stains and splashes. Today the availability of all manner of materials in a wide array of finishes means your backsplash can make more of a statement. To help you decide which material would work best for you, we offer expert advice on the 10 most popular backsplash materials.

Read more

How to Add a Kitchen Backsplash

Article by: Mitchell Parker

The options for kitchen backsplashes are pretty much limitless in terms of material, color, size and cost. Ultimately, you’ll have to decide what’s best for you and your lifestyle. Knowing how to navigate the process of installing a new backsplash can help ease some of the stress. Here’s what to expect. 

Project: Adding a new backsplash.

Why: A backsplash can act as a focal point in the kitchen, creating interest and balance between the other materials and elements. 

Details: The difficulty and expense of the project will depend on the complexity of the design. First you’ll want to decide what kind of backsplash you’d like to have. As mentioned, the options are endless, from smooth, backpainted glass to complex ceramic tile patterns and custom murals. Look at photos, research materials, meet with a designer and visit showrooms to decide what’s best for you. 


Measure, remeasure and remeasure, says designer Mariette Barsoum. This will help determine what size of tile or material will work best. Then think about how everything will fit together. This is where an experienced designer can come in handy. A designer will be able to quickly come up with ideas for how the tile layout will end and begin, how it will wrap around your cabinets or range hood, and so on. 

The type of countertop you have will be a very important determining factor. For example, a busy backsplash would clash with a busy granite countertop that has a lot of variation. Make sure to consider how the material will enhance the other elements in the room, and vice versa. 


You’ll then want to figure out how much tile or other material you’ll need. Barsoum says a good rule of thumb is to add 10 percent to the amount of square feet of space. If you have 50 square feet for a backsplash, for example, order 55 square feet of tile. This will account for breakage and mistakes on the job. 

Barsoum also recommends working with the materials company or store to make sure what you’re ordering — tile, trim pieces etc. — will arrive at the same time. “Once the job starts, you want to finish it,” she says. “You don’t want to be going along and then have to wait because you’re missing three pieces of tile or bullnose.”
 

Cost: Because the options for materials are so vast, it’s difficult to give a ballpark estimate, but Barsoum says a typical backsplash including labor and materials should run around $1,500 on the low end and $6,000 and up on the high end. She says you can get 3-by-6 ceramic tile for $3 per square foot and 3-by-6 blue marble for $70 per square foot. 

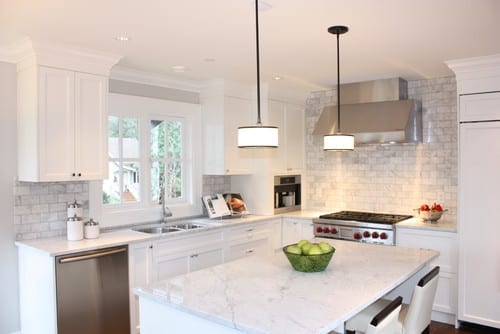
In the example shown here, a kitchen backsplash Barsoum installed, she used marble that comes in 12-by-12 sheets at about $15 per square foot. Because there’s no pattern and the sheets are easy to work with, Barsoum says almost anyone can install these themselves.


Who to hire: If you’re confident in tiling techniques — leveling a wall and adding grout — this could be a DIY project. But Barsoum says the more expensive the material, the more you should consider hiring a professional. For most jobs a tiler is your best bet. 


Best time to do this project: Either during a kitchen remodel or after. You don’t want to add a backsplash if you plan to remodel your kitchen anytime soon, because you’d have to replace the backsplash anyway once you start ripping out cabinets or adding countertops.
 

How long it will take: Planning and getting the materials can take anywhere from a couple of days to several weeks. Again, it depends on the materials. If your tile choice is in stock, you can have it in a matter of days. If you’re ordering handmade tiles, it can take six to eight weeks. 

Once the job begins, it typically takes two or three days for tile to set. The good thing is, you can still use your kitchen throughout the job.

Kitchen Color: 15 Fabulous Green Backsplashes

Sure, your kitchen backsplash serves a very practical function: protecting the wall area above your countertop from splashes and spatters. But it’s also the perfect place to add a dash of fun color. The weather where I live in Central Texas has turned rather frightful, so I’m starting this new series on colorful kitchen backsplashes with happy, fresh, spring-inspired green hues. Here I’ve gathered some of my favorite examples with tips for working ones like them into your own kitchen. 

Read more

9 Hard Questions to Ask When Shopping for Stone

Article by: Anne Higuera CGR, CAPS

Deciding to use stone and choosing the kind to use are more complicated than just picking a finish you like. Because stone is a natural material, its appearance, durability and production can vary from one quarry to another, and from one batch to another, causing problems (or in some cases, providing benefits) you might not have anticipated. 

Here are nine questions you should consider before buying stone.

Read more

Kitchen Color: 15 Ravishing Red Backsplashes

Last week we looked at some gorgeous green backsplashes. This week we’re swinging over to the other side of the color wheel to focus on rousing reds. Red can be a tricky color to work with, especially in superbright and bold shades. If it’s combined with too many other loud colors or elements, the effect can be overwhelming and at times garish. 

Read more

Countertop + Backsplash: Making the Perfect Match

Article By:

Which do you select first — kitchen counter or backsplash? How do you coordinate colors? Is it OK to mix patterns? The seemingly unlimited countertop and backsplash choices can feel overwhelming.

I’ve had homeowners approach me after weeks or months of looking at and collecting samples of materials that they love separately but just don’t love together. Some settle on a combination that looks good together, but they don’t actually like either material on its own. 

Here are 10 examples of stunning and successful countertop and backsplash combinations to help you plan your own mix of kitchen finishes, along with tips to ease your selection process. 

Approach 1: Select the Countertop First

If you feel overwhelmed by the countertop and backsplash options, try focusing on countertop selection first. Your countertop is the workhorse in your kitchen and can constitute a good chunk of your budget, so you’ll want to get it right. Your budget and the way you use your kitchen will narrow things down. Plus, there are generally fewer color and pattern options for countertop materials, whereas backsplash options are practically unlimited. Countertops will also be installed before the backsplash, so you definitely need to decide on them first if construction has already begun.

Browse the Houzz photo database for countertop materials that appeal to you and the compare pros and cons in the Houzz guides to countertops. If you want to see something in person, check out what’s available at your local stone yard, kitchen and bathroom design showrooms, and home improvement stores.

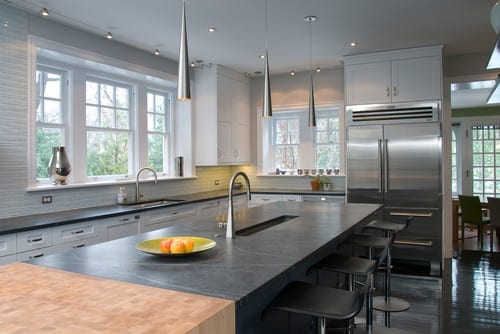
Shown: Soapstone and butcher block counter; linear glass tile mosaic backsplash 

Once you’ve homed in on your countertop of choice (congratulations!), you have immediately narrowed the field of options for the backsplash. Trust me, this makes your life easier. 

Now, you don’t necessarily need to exactly match the color or pattern of your countertop to that of your backsplash, especially if you go for an unusual hue or a countertop material with a lot of movement in it. In these cases a simple and neutral-hued backsplash is a good choice, so that the countertop takes center stage and does not fight with the backsplash for attention.

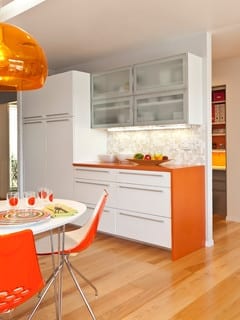
Shown: Orange quartz counter (get the look withOne Quartz from Daltile); Oceanside Glasstile’sTessera mosaic blend in Veil backsplash


If you want to go bold with both your countertop and backsplash, bring a sample of your chosen countertop material with you as you shop for backsplash tile. You will be able to instantly limit your backsplash options to those that work with your countertop material. If you are struggling with finding the right backsplash to work with your countertop selection, consider hiring a pro, even if it’s for just a few hours, to help you nail the selections. Or enlist the help of a color- or design-savvy friend.

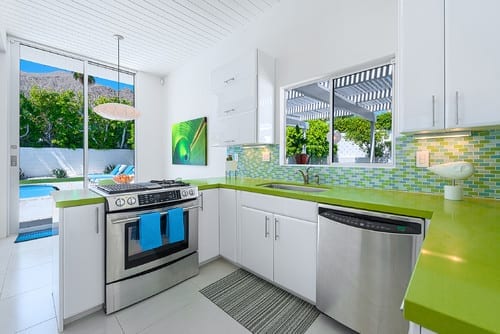
Shown: Green quartz counter (get the look with Silestone); mosaic glass tile backsplash 

Approach 2: Select the Backsplash First

Of course, if you happen to find a backsplash you absolutely love before you’ve even looked at countertops, I say go for it. Making this selection will absolutely help you narrow down the options for the countertop. If you go for a statement-making backsplash such as the one here, find a quiet, subtler countertop material so it doesn’t fight with the backsplash.

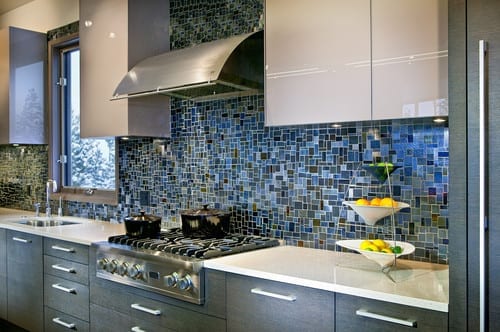
Shown: Pietra del Cardoso stone counter; Stone & Pewter Accents mosaic glass tile backsplash


I prefer that either the countertop or the backsplash be the star of the show, with the other material playing a supporting role. This stunning backsplash has lots of color and movement and, in my opinion, should not have to compete with an equally attention-grabbing countertop.

Shown: Caesarstone counter; glass mosaic Waterworks backsplash 

That’s not to say you shouldn’t consider a mix of colors and patterns for both your countertop and backsplash. But if both of your materials feature multiple hues and have different patterns, aggregates or movement, stick to one overriding color palette for both materials. This will give the materials a nice cohesiveness, so they don’t fight with each other.

Shown: Bianco Romano granite counter; stained glass mosaic tile backsplash 

Approach 3: Use the Same Material for Both Counter and Backsplash

Love your countertop selection and want to keep this process simple? Consider running your countertop material up onto the wall as the backsplash. This is an especially smart option if you are required to purchase entire slabs of your chosen countertop material and you happen to have enough material left over to use the remainder as the backsplash.

Shown: Get the look with a Pietra del Cardoso stone counter and backsplash. 

You can also use the same or similar countertop material for your backsplash but break it up by selecting a tile format for your backsplash rather than a slab. This can be a budget-friendlier option than purchasing extra slabs to create a backsplash.

Shown: Get the look with a Carrara marble counter or, for a more durable option, check out Misty Carrera from Caesarstone; Carrara marble subway tile backsplash 

Another cost-effective approach is to run your countertop 4 to 6 inches up the wall as a short splash. It will give you a nice finished edge where the countertop meets the wall, and it will also provide protection to the part of the wall most likely to get wet or dirty. Just be sure to check your local building code requirements regarding the minimum height of noncombustible materials on the wall area above the range or cooktop.

Shown: Uba Tuba granite counter; colbalt-blue Daltile subway tile backsplash 

Approach 4: Hire an Expert

Some homeowners just have a difficult time visualizing their finished kitchen, which is why material selection can prove so challenging. And all too often you are asked to make too many decisions in too short a time period. If you know you are prone to analysis paralysis, do yourself a favor and give yourself enough time to weigh your options, but with a firm deadline to make the decision. Engage the assistance of a friend whose taste you admire, or hire a design professional to help guide you or bless your selections.

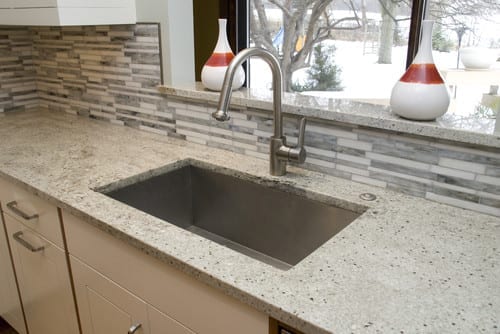
Shown: Gray and white granite counter; oversize ceramic tile backsplash


13 Big Ideas for Small Bathrooms


Small Bathrooms1.jpg

Photo: via TOH. A few things all old house lovers are familiar with: drafty windows, less-than-perfect plumbing, squeaky floors – and small bathrooms. While new home baths have nearly doubled in size over the past 30 years, old home bathrooms average about 5- by 8-feet.

Not to worry, though: you can combat the claustrophobia by scaling down to physically save space. (Pedestal sink, anyone?) And, with the right colors and lighting, you can create the illusion of a roomy bath

Here, we dig into the National Kitchen & Bath Association (NKBA) Design Competition archives to deliver great ideas from Certified Kitchen Designers that you can use in your next remodel. 

Photo: via TOH | Designer: Debbie R. Gualco, California

#1 Rich, Asian-Inspired Design

This homeowner wanted to bring her home out of the 1980s with contemporary Asian design, so the powder room vanity was inspired by a Japanese kaidantansu (stepped chest), which contributes fluidity of design in the cramped quarters. The use of rich and dark colors makes the walls of the small space recede.

Photo: via TOH | Designer: Erica S. Westeroth, Ontario

#2 Day at the Beach

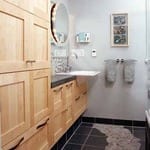
These homeowners opened up their space by getting rid of two small closets and adding task and ambient lighting to help create the illusion of a larger room. Little width remained after incorporating the tub and toilet, so a shallow cabinet was incorporated. Our favorite detail? The playful “dry riverbed” of stones in the floor. 

Photo: via TOH | Designer: Gary Hentges, Illionis

#3 His-and-Her Bath

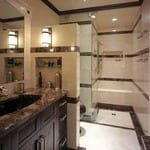
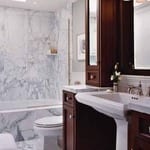
The use of continuing horizontal lines, a large, frameless mirror, and well-placed task lighting helps to create the illusion of a larger space. The marble-clad dividing wall lends modesty to the toilet area, while creating a recessed storage opportunity. A must in every small bath, the shower has a curbless entry to eliminate demarcation of the limited footprint. 

Photo: via TOH | Designer: Gary Henteges, Illionis

#4 Small and Simple

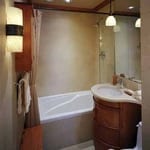
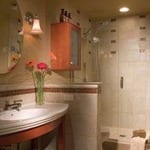
These homeowners wanted to “keep it simple and do it well.” This cherry and limestone bath replaced a tiny, cluttered space meant for guest use. The curved-front vanity maximizes usable space with two deep drawers on double extension drawer slides.

Photo: via TOH | Designer: Holly Rickert, New Jersey

#5 Zen Escape

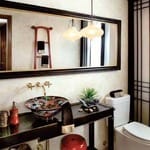
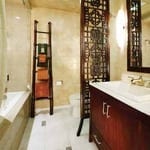
The size of this room called attention to an eyesore: an off-center, aluminum-framed window. A floor-to-ceiling Shoji screen took care of that by concealing the flaw, while letting light through. A 7-foot framed mirror, hung horizontally, spans the entire length of the room and reflects the ladder towel rack, which adds storage without taking up floor space. 

Photo: via TOH | Designer: Keri Davis, Oregon

#6 Small Spa Retreat

This bathroom was constrained by bedrooms on either side, so it wasn’t possible to increase square footage. To make the space feel roomier, white marble tile and several mirrored surfaces wrap the room. Floor-to-ceiling cabinets add height, while a glass shower wall eliminates the visual barrier of a shower curtain or doors. Rich wood tones add warmth and create balance. 

Photo: via TOH | Designer: Leslie Ann Cohen, California

#7 Hacienda-Style Bath

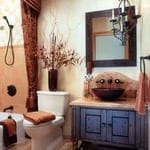
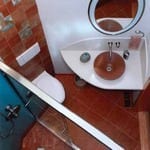
This guest bath features a custom miniature sideboard topped with a rich red travertine counter and copper vessel sink. Rich shower draperies and handmade tiles add to the charm of this space, showing that patterns used selectively as accents will not overwhelm a small room.

Photo: via TOH | Designer: Lori Carroll, Arizona

#8 Tone and Texture

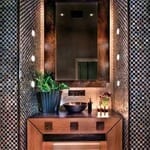
It’s not uncommon to create attention-commanding focal points in compact spaces. This powder room vanity is crafted with smooth, flaxen veneer and is topped with a cast bronze basin and patina counter. Recessed lighting around the large mirror illuminates any reflection.

Photo: via TOH | Designer: Leslie Thompson, Florida

#9 Modern Makeover

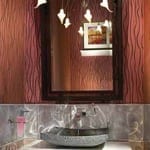
This vanity continues the lesson of creating a bold focal point in a small space. The upper walls of this ultra-feminine retreat are upholstered in padded silk, but the stainless steel backsplash adds a rugged accent.

Photo: via TOH | Designer: Margie Little

#10 Compact Commode

This teeny, tiny full bath features a wall hung toilet; the tank is hidden inside the 2×6 stud wall, allowing for 9 inches of extra space in the center of the room. Clear glass shower doors eliminate visual barriers and a skylight floods the space with natural light.

Photo: via TOH | Designer: MaryLou Kalmus

#11 Glass Grandeur

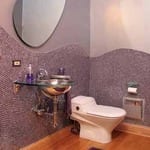
A curved glass countertop provides a sense of spaciousness, while hand-applied 1-inch Bizazza glass tiles mimic the swooping curves of the fixtures. The high ceiling features a deep amethyst color wash to visually lower the height of the room, which felt “like a tunnel” to the homeowers.

Photo: via TOH | Designer: Sheila K. Tilander, Washington

#12 Retro Redo

This homeowner wanted a nostalgic style with a contemporary twist. Trumpet-shaped sconces flank an oval mirror that conceals a medicine cabinet. A frameless shower door extends the visual expanse of the space, while allowing unobstructed views of oversized subway and amber glass tilework. 

Photo: via TOH | Designer: Tiffany De Tomasi, California

#13 Eastern Oasis

A freestanding vanity with elongated fixtures, a custom bamboo mirror, and ladder towel rack create the illusion of vertical space in this small guest bath. A soft color palette accented with dark woods, balances the space. Artistic relief panels add visual interest without completely walling off light. 

(You are reading an article originally posted on This Old House)