Article by: Graeme Wilson
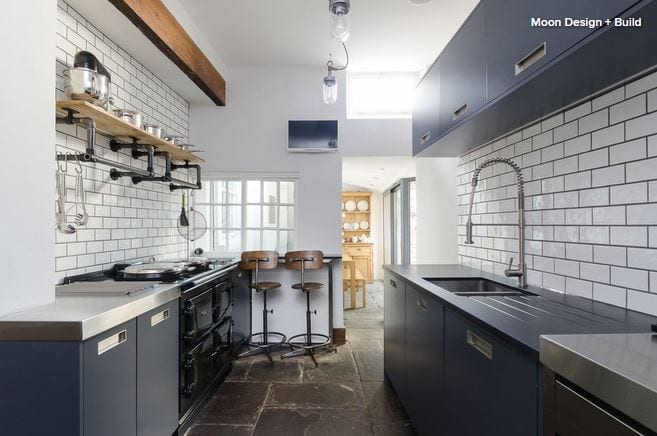
A galley kitchen consists of two parallel runs of units forming a central corridor in which to work. The galley layout works well for all kitchen styles; it’s also the preferred design of many professional chefs, who love it because it enhances safety and efficiency during cooking. Just like the compact galley on ships, for which the layout is named, galley designs optimize space by packing in an abundance of storage and work area, making them ideal for small kitchens. If you’re considering a galley layout or revamping one you have, here’s what you need to know.
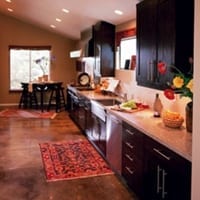
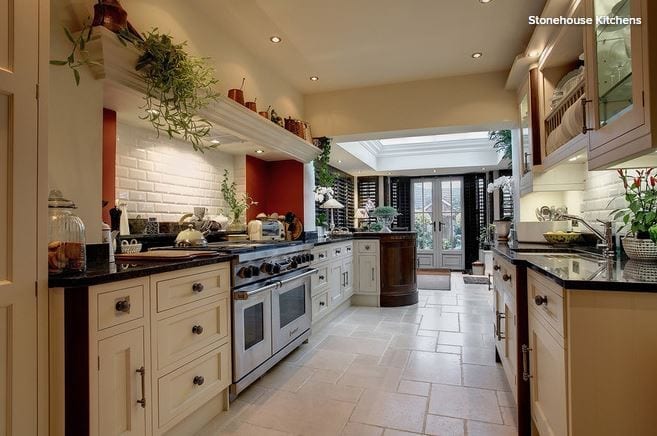
1. Assess your space. Though galley kitchens work best in small spaces, they can also be good for medium-sized kitchens, such as the one pictured here. However, be aware that if the opposing runs are too far apart, the kitchen will lose its efficiency. (This kitchen gets it right.)
Also know that a galley layout, while ideal on a professional level, is usually an enclosed space without a dining area. That means that if there’s no possibility of opening up the space, it’s potentially not the most sociable of arrangements. On the other hand, a galley layout in an open-plan space can offer the best of both worlds. (Read on for details about galley kitchens with islands.)
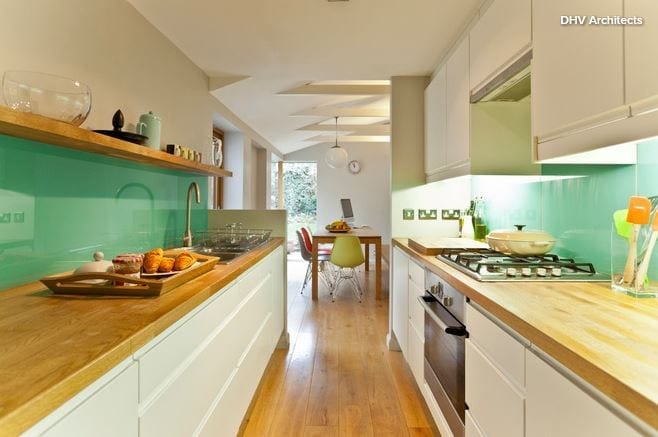
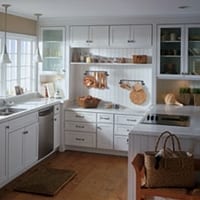
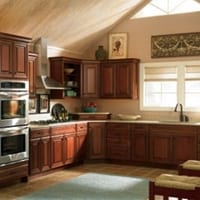
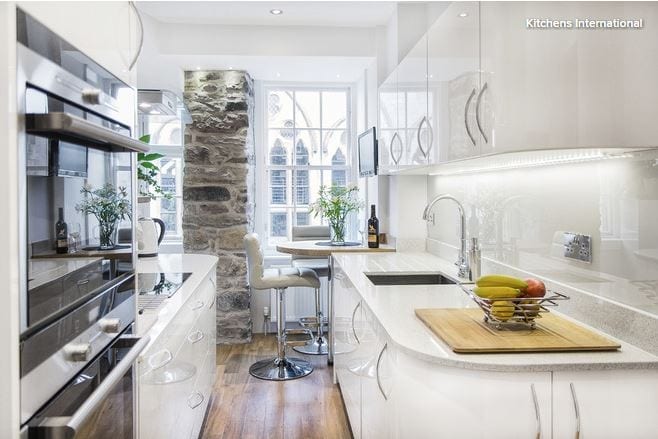
2. Choose your galley look: Symmetrical … When it comes to galley kitchens, there are two layout preferences. The first is relatively symmetrical, as seen here. This usually means the length of the runs and the arrangement of units on each side mirror each other as much as possible — or as much as you want.… or asymmetrical. You can opt for an asymmetrical layout instead, using various approaches. One involves focusing tall cabinets or a bank of appliances on one side of the room, with base and wall units on the other (as seen in the next image). Or you can go with a mix of tall and wall units along one side, with a single run of base units on the other if, for example, you have an open-plan space, as pictured here.
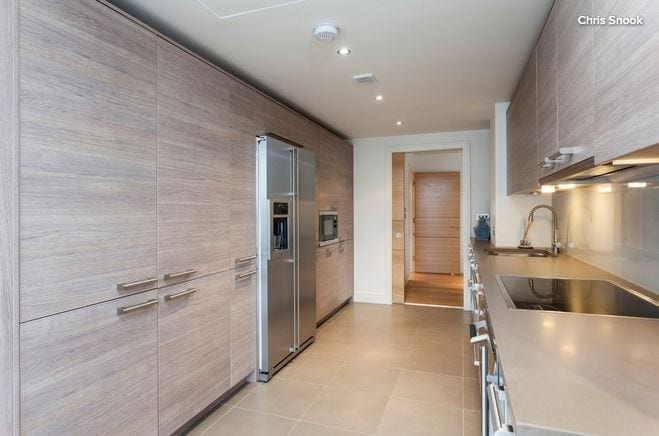
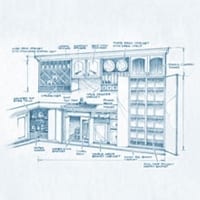
3. Put tall cabinets on one wall. If you’re designing a galley kitchen as described above, it’s preferable to go for a wall length of at least 12 feet so the sink and cooktop can be placed far enough away from each other. For safety, these should be at least a foot apart, but since that wouldn’t leave any work space, we always try to site them more than 3 feet apart. In this arrangement, a run of 12 feet allows for sufficient sink capacity, with cabinets or drawers beneath the range — occasionally adaptation is required for top drawers in this scenario — and it ensures that all the major appliances fit.
Finally, 12 feet allows space for the units on the opposite run — the fridge, oven housing and pantry storage, for example. This arrangement provides ample storage space, helping keep the kitchen tidy and the countertops free of clutter.
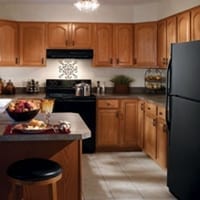
4. Or break up the run. You might prefer an asymmetrical layout with tall and base units along the same wall. For example, if a wall is just over 12 feet long, it’s likely to have three tall housings at one end and three base units at the other. Typically, there would be wall units, floating shelving or a window above the base units. Along the opposite side you could have wall units, shelving, a window or even a clear wall.
This arrangement works really well if the kitchen is quite narrow, since without a tall bank of units as you enter the kitchen, the space will feel more open.
5. Work with a galley corridor.Depending on the layout of your home, galley kitchens may or may not be closed off at one end. If the far end leads to another room or the garden, it will see heavy traffic because it will become a thoroughfare.
Depending on the number of people in your household, this may not be a problem, but if you have small children or pets, you won’t want them charging through the kitchen while you’re holding a sharp knife or a pan of boiling water.
You can enhance the safety of your layout — particularly where the corridor is very narrow — by planning your kitchen with the sink and cooktop on the same run. Though less efficient than having those features opposite each other, this arrangement focuses your appliances in one area, so you won’t have to turn to the opposing run with potentially dangerous items in your hands.
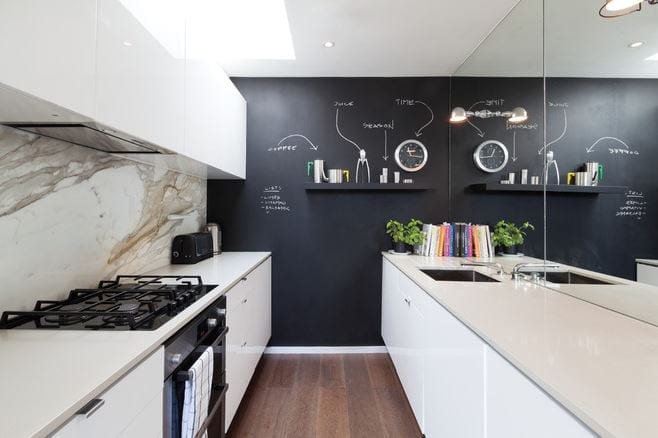
6. Enhance a closed-off kitchen wall. A galley kitchen closed off at one end can be a safer layout, because there’s only one entrance, giving the cook greater awareness of others coming and going. But how to make good use of this wall space? It might be there’s a window here, in which case it’s important not to block your kitchen’s natural light. Adding a stool would let you sit at the far end to write out shopping lists or chat on the phone.
Alternatively, there might be room for some open shelving, a nice painting or perhaps a family-friendly chalkboard wall, as seen here, which can be used for playful drawings and notes or for shopping or to-do lists.
The clever use of the mirror in this compact kitchen is also worth noting; it creates the impression of a bigger space.
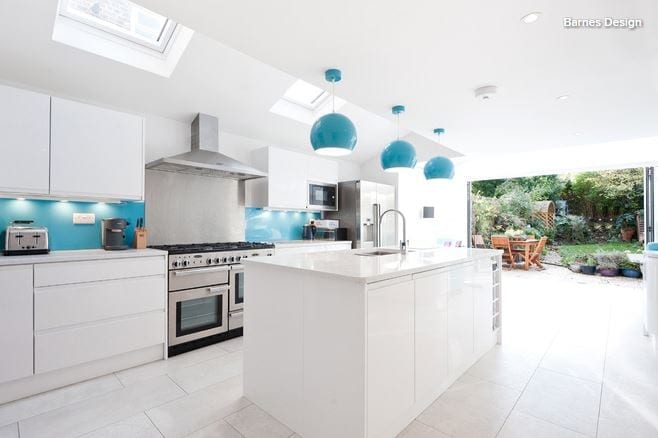
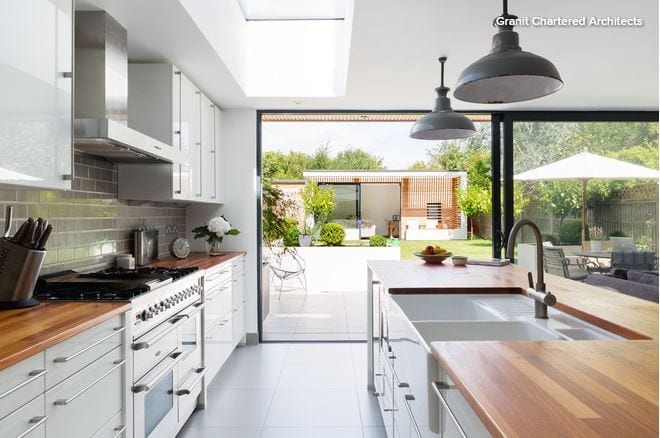
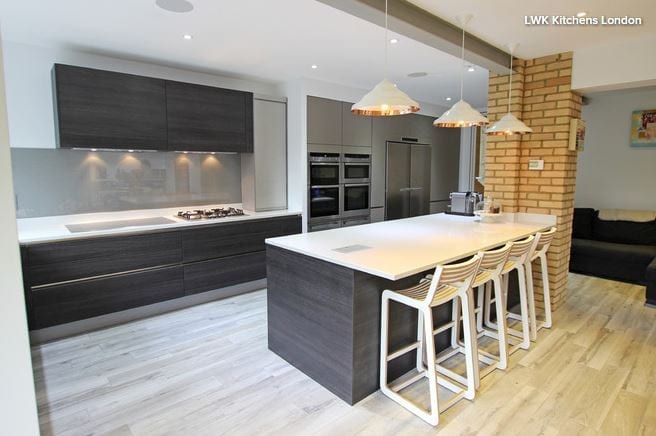
7. Create a galley with an island. I’ve mentioned that enclosed galley kitchens may not be the most sociable setting for the cook. A popular adaptation, when space allows, is the inclusion of an island.
In this kitchen, the island replaces one of the runs to become part of the kitchen layout and functionality. It sits parallel to the longer run of units and typically houses either the range or the sink. Whichever of those is not positioned in the island would be staggered on the opposing run rather than directly opposite. This staggering is safer and more efficient during cooking, because it reduces the amount of turning required between the sink and stove.
8. Make your galley sociable. Some homeowners want to add an island to a galley layout yet intend to keep the additional work surface clear. This is often the case with bakers, who like to use the space for rolling out pastry.
This was part of the goal for the kitchen seen here, which was designed for a professional recipe developer who worked from home. Her kitchen also had to accommodate the needs of her husband and two young children, and the seating on the far side of the island helps with this, keeping the kids safely clear of the cooking area but ensuring a more sociable arrangement than a standard galley would have.
9. Add seating. Sometimes there’s space for a small peninsula or breakfast bar in a galley kitchen, providing additional storage as well as dining space. Here, the peninsula at the far end of the kitchen is fully clear of the cooking zone and has seating on the far side. (It also doubles as a butcher block.)
If there’s space to add a table between the opposing runs of your galley kitchen, this can sometimes work. However, you need to be careful when planning the space, because if it pushes your work surfaces too far apart, they’ll be much less efficient.
Adding a small cart as an extra work surface might be an effective alternative, although in most cases there’s sufficient counter space in a galley to eliminate the need for this — unless it’s a specialized addition such as a butcher block.
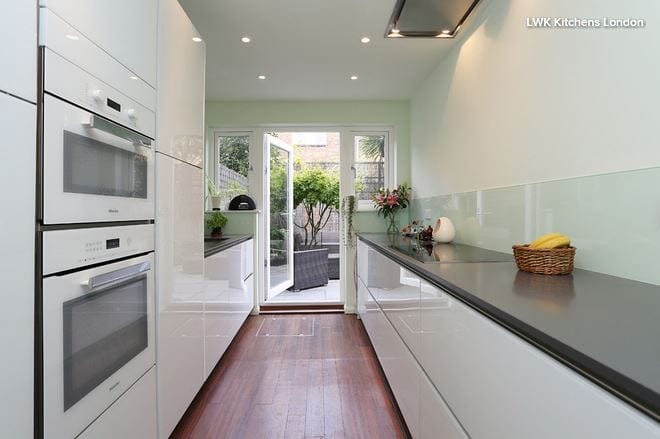
10. Enhance a sense of space. When considering a galley layout, homeowners are keen to avoid a “corridor” effect, in which the kitchen feels small and enclosed. But even in small spaces, there are ways to avoid this.
As already mentioned, losing the continuity of tall units in favor of wall units or shelving will help open up the space. The choice of furniture also helps: High-gloss finishes in pale colors are best for reflecting light and enhancing a sense of space. Similarly, doors and drawers without handles give a clean look and take up less physical space than handled ones.
Finally, lighting is key. Well-placed and oversized lighting will soften the kitchen’s look and create the impression of more space.