By: Laura Gaskil
So you’ve tossed the old, unloved and expired food and spices. What’s next? After decluttering the pantry, it’s time to get organized. But with so many organizing products to choose from, it can be hard to know which are worth buying and which will end up gathering dust (or worse: making your pantry even more cluttered).
To help you bring order to this hardworking part of your kitchen, we’ll divide your things into three categories: stuff you reach for every day, meal building blocks and staples, and occasionally called-for ingredients.
Stuff You Reach for Every Day
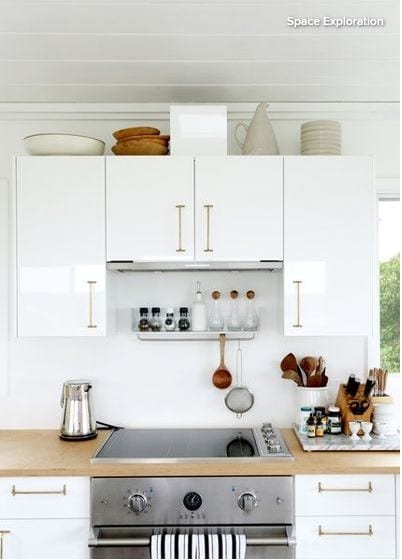
A tray or platter beside the stove. Your true everyday essentials (think olive oil, salt and pepper) should live within arm’s reach of where you use them. A tray, platter or slab gives these items a defined space to prevent straying, and is easy to move and wipe down.
Check your own cupboards to see if there’s a platter or tray you can use for this purpose. You may not need to buy anything!
A dedicated shelf (or two) for essentials. Beyond salt and pepper, you can probably think of a handful of other ingredients you reach for nearly every day. These items would take up too much room on the counter, so aim for a shelf or cupboard near the stove, or above the counter where you like to chop vegetables. If your pantry is already near the cooking zone, dedicate an eye-level shelf to your essentials.
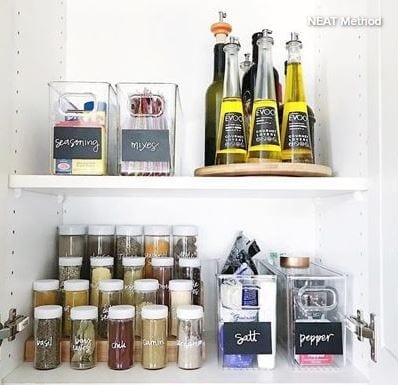
Add one or more of these tools to make ingredients easy to spot at a glance:
- Lazy Susan. A small turntable lets you circulate bottles of oil with ease.
- Risers for spices. See what’s in the back row without having to rummage.
- Clear bins. Corral little packets of this and that.
Meal Building Blocks and Staples
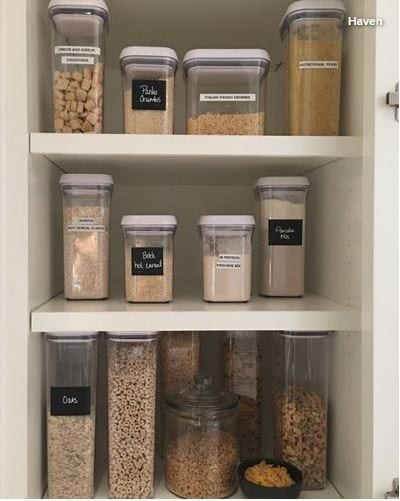
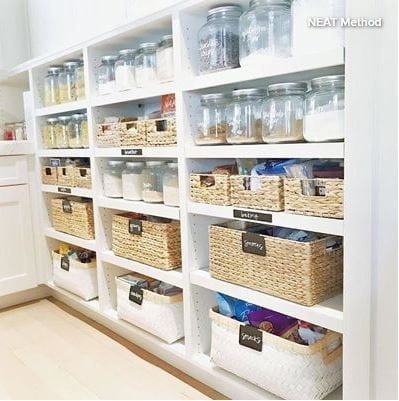
Clear, airtight containers for bulk goods. Buying grains, flours and other items from the bulk bins in the grocery store is economical and reduces packaging waste. Once you get home, transferring these items into a good set of canisters will help them stay fresh longer and keep critters out.
Tip: If you like to change up your ingredients frequently, use wipeable chalkboard labels. Then, when you fill the container with something new, you can simply wipe off the old info and write what’s in it now.
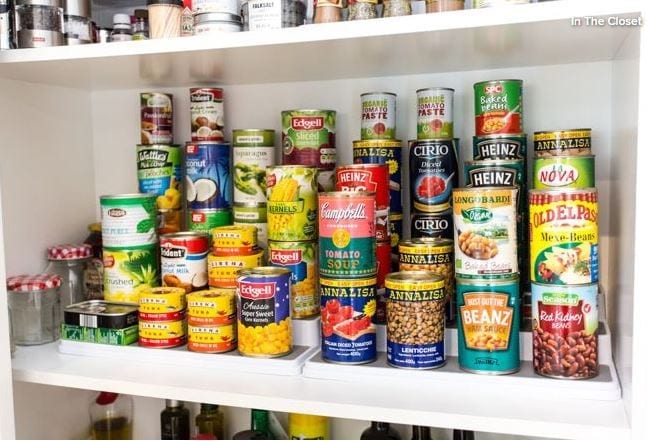
Risers for cans and jars. Slightly larger than spice risers, these stairstep-like organizers are especially helpful if you have deep pantry shelves and lots of canned goods (or jars filled with homemade goodies).
DIY: To create your own risers, borrow a few wooden blocks from a child’s set (or get them from the hardware store) and stack in the back of a cupboard to give cans a lift. If the cans are sliding around, top the blocks with a layer of anti-slip tape (available at hardware stores or online).
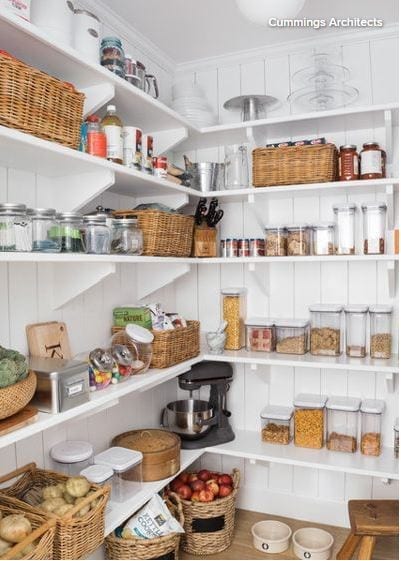
Baskets for potatoes and onions. If you have a walk-in pantry that stays cool and dark, this can be a great place to store potatoes, onions and other produce that doesn’t require refrigeration, such as apples and squash. Pick baskets that will allow air to flow around the produce, and store each type in its own basket.
Tip: Keep apples in a different section of the pantry since they produce ethylene gas, which can speed spoiling of nearby veggies.
Occasionally Called-For Ingredients
“Project cooking” baskets or bins. Project cooking is the kind of cooking you may sometimes love to do, but it’s certainly not part of your everyday get-dinner-on-the-table cooking life. In other words, it’s a project. Think baking birthday cakes, decorating Christmas cookies, making homemade pasta or canning your own jam.
Instead of mixing the special tools and ingredients required for these projects in with the rest of your pantry items, gather them in a project basket. The size of the basket or bin will depend on how much stuff you need to store, so gather the ingredients together before you go basket shopping!
Tip: Project cooking bins can certainly live on high shelves. Just be sure to label them clearly, and keep a stepladder nearby, if needed, to reach them.

Bulk supply bin or crate. If you like to stock up on certain supplies or ingredients, you’ll want to find a convenient yet out-of-the-way spot in which to keep them. The shelves from waist to shoulder height are best reserved for more frequently used items, so use the floor or a high shelf to store your extra goods.
Bulky but light items (like paper towels) can go on a high shelf, while big and heavy stuff (like bags of dog food) should go on the floor. One or two large bins or crates can keep everything contained.